
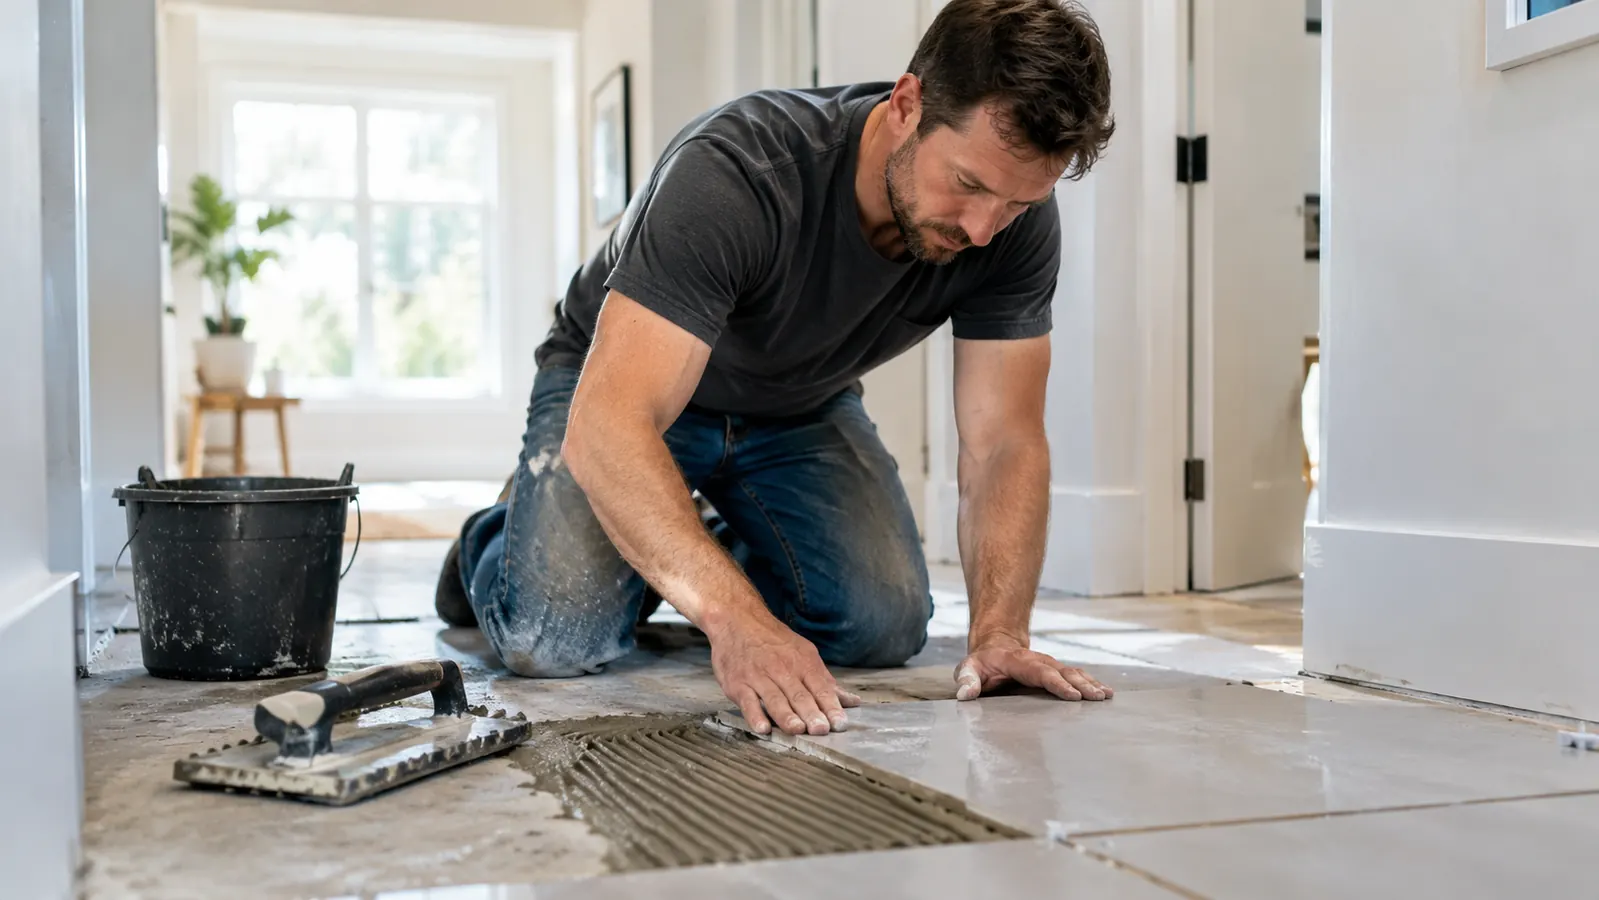
Last spring I tiled the hallway that runs from our front door to the garage, about 70 square feet of 12x24 porcelain. I had just finished the kitchen floor six months earlier, and I had used plain plastic spacers there. The kitchen floor wasn't a disaster, but every time I walked over it in my socks I could feel a little step where one tile sat just a hair higher than its neighbor. That lippage drove me crazy, and I spent hours grinding down a few tiles with a diamond pad to smooth it out. So when the hallway came up, I decided to try the DGSL Tile Leveling System, a kit that comes with a pair of pliers, 300 spacers, and 100 wedges. The idea is that you place a clip under the edge of each tile, insert a wedge, and tighten it with the plier to pull the two tiles flush. I had seen tile leveling systems on every flooring forum, but I was skeptical. A bag of spacers is the traditional budget choice, and the DGSL kit costs a lot more. Was the extra step actually going to get me a flatter floor, or was it just another gadget to store in my converted garage workshop? The only way to know was to tile one room with the system and compare it to the kitchen I had already done with plain spacers. I used 1/8-inch spacers in the kitchen, and I set them in a grid every 12 inches. The 12x24 rectified porcelain should have been perfectly flat, but one corner always seemed to find a way to settle a little low. I tried tapping the high tile with a mallet, lifting it and resetting it, even using a straight edge to check as I went. Nothing worked consistently, and I ended up with a few spots where a bare foot could feel a distinct step. I remember walking across that floor in my socks and thinking, 'there it is again' every time. It drove me crazy enough that I spent a weekend grinding down three tiles with a diamond cup wheel, and even then the floor wasn't perfectly flat.
The short answer is yes, the DGSL system is worth it for large format tile, for floors you walk on barefoot, and for anyone who has ever run a hand across a tile floor and frowned at the edges. It is not a substitute for proper prep, but it does what plain spacers cannot: it controls lippage, not just the width of the grout joint. Plain spacers set the distance between tiles, but they do nothing about one tile sitting higher than the next. The DGSL wedges pull adjacent tiles to the same height and hold them there while the mortar cures. For a floor that is going to be visible and used every day, that is the difference between a professional finish and a wavy one. I have used plain spacers on a laundry room floor and never thought about it again, but the hallway floor with the DGSL system is the one I show people when they ask about my tile work. For small mosaic sheets on a wall or a floor that will be covered with a rug, plain spacers are still perfectly fine. The extra time and cost of a leveling system don't earn their keep there.
| DGSL Tile Leveling System | Plain Tile Spacers | |
|---|---|---|
| Price | Costs more up front, but the kit includes the plier, 300 spacers, and 100 wedges. On a 70-square-foot hallway, one kit was enough. | A bag of spacers is the traditional budget choice for small jobs. |
| Lippage control | Pulls adjacent tiles level with wedges and clips, so edges meet flush. I ran a 6-foot straight edge across my hallway and it touched every tile. | Only sets the gap between tiles, does nothing about height differences. You can still get a step you feel underfoot. |
| Setup time | Adds a step at every tile: place clip, insert wedge, tighten with plier. On my hallway I added maybe 30 seconds per tile. | Drop a spacer in the joint and move on, no extra tools. On a wall you can set ten tiles in the time it takes to level two. |
| Removal | Snap the tops off the clips after the mortar sets, then sweep up the pieces. I did 300 clips in about ten minutes. | Pull the spacers out or leave them if the grout joint is wide enough. No cleanup. |
| Best for | Large format tile, floors you will walk on barefoot, and anyone who hates lippage. | Small mosaic sheets, walls, and quick jobs where the tile is already flat. |
Where the DGSL System Wins
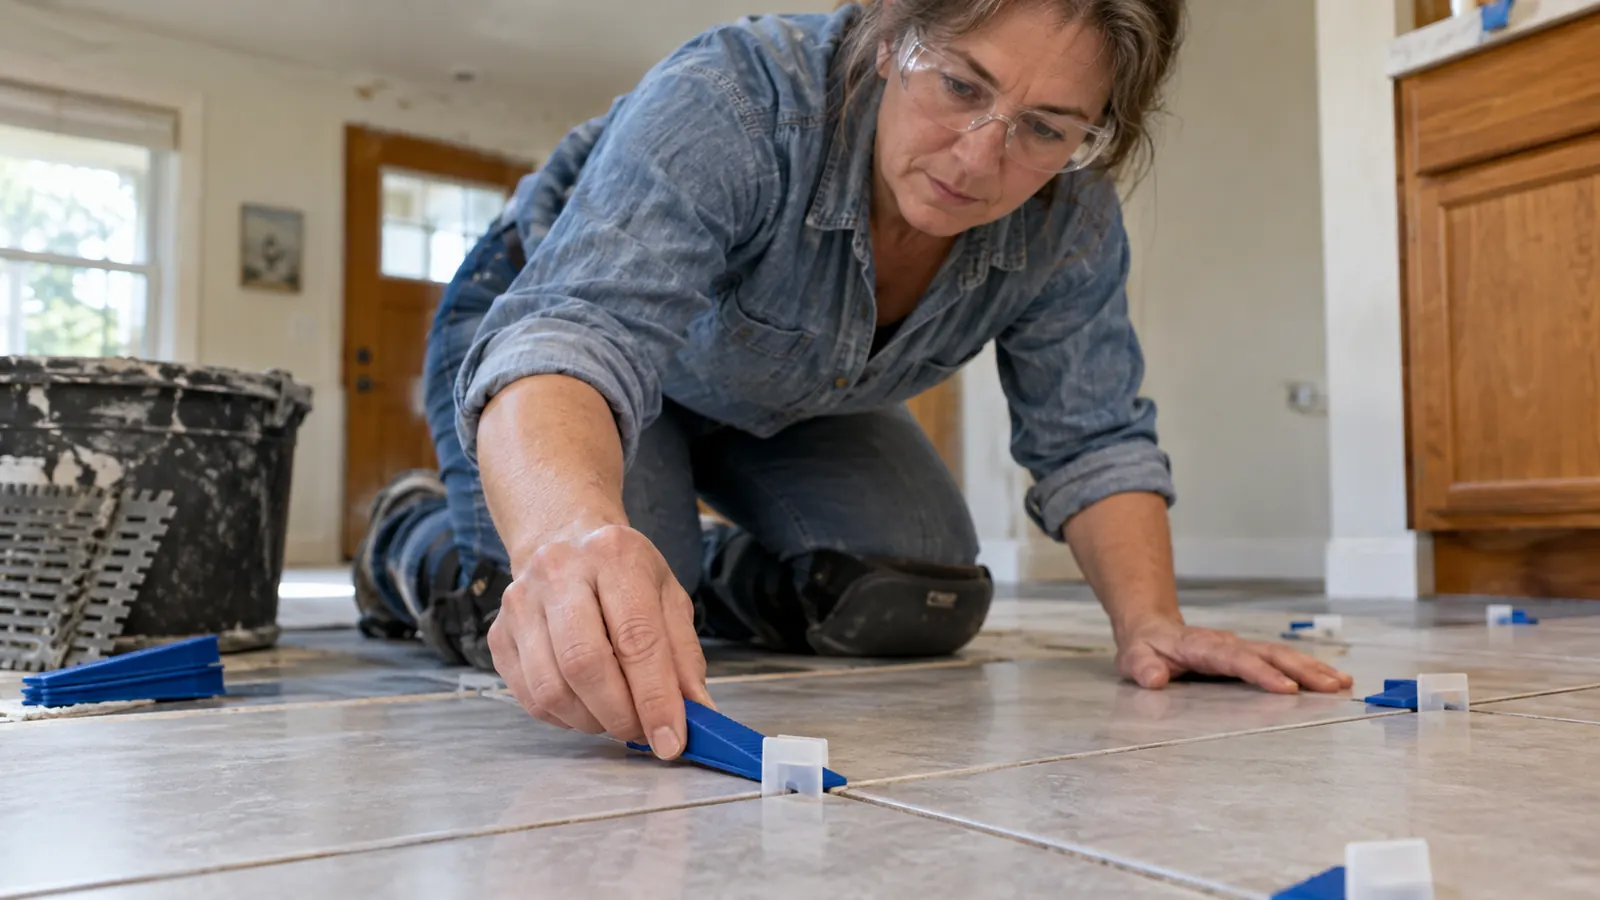
The whole point of a leveling system is to stop lippage before it happens. Plain spacers only control the width of the grout joint. They do nothing about one tile sitting a sixteenth of an inch higher than its neighbor. With the DGSL system, you place a clip under the edge of each tile, then push a wedge into the clip and tighten it with the plier. The wedge pulls the two tiles to the same height and holds them there while the mortar sets. Each clip has a slot that runs under the tile, and the wedge fits into that slot with a taper. When you press the wedge with the plier, it pulls the two tile edges up or down until they are flush. I used the 1/16-inch clip height because that matches the width of my grout joint, and it worked perfectly for my 12x24 tile. On my hallway, I laid 70 square feet of 12x24 porcelain, and after I snapped off the tops of the clips the next morning, I ran a straight edge across the floor in every direction. It touched every single tile. I could feel nothing under my feet, not even in my socks. On the kitchen floor I had laid with plain spacers, the same straight edge rocked over at least a dozen spots, and I had to grind down three tiles to stop them from catching the vacuum cleaner. I also had one tile in the hallway that sat a quarter of an inch high because of a lump in the mortar. The DGSL wedge pulled it down flush with the neighbor, and after the mortar dried, you could not tell which tile had been the problem.
The other win is confidence. When you are laying large format tile, the mortar can shift under the weight of the tile and one edge can settle before the other. With the DGSL system, the wedge holds the tile flat while the mortar sets, so you don't have to babysit it. I work alone most weekends, my husband helps with the heavy lifting but not much else. With plain spacers I was constantly checking each tile with a level, and even then I would come back ten minutes later and find a corner had dipped. The DGSL wedges eliminated that. I placed the clip, set the tile, pushed in the wedge, and moved on. When I came back an hour later, everything was still flat. I also liked that I could use the system on the bathroom floor later, where the subfloor had a low spot I had to feather with self-leveler. The wedges pulled the tiles down to meet the level line, and the floor came out flat even over that dip. I did have to be careful not to over-tighten the wedges, because if you force them too hard, the clip can pop out or the tile can crack. On one tile, I pushed a wedge a little too far and heard a small crack, but it was at the edge and hidden under the baseboard. The clips snap off cleanly at the score line, and the pieces sweep up into the trash. I was able to reuse the plier for the next room, though I bought a fresh bag of clips and wedges because the old ones were all used up.
Where Plain Spacers Win
Plain spacers win on speed and on price, and I am not going to pretend otherwise. With a bag of spacers, you set a tile, drop a spacer in each joint, and you are done. No clips to place, no wedges to push, no plier to click. There is no learning curve. The first time I used a leveling system, I spent twenty minutes watching tutorial videos before I felt confident. With spacers, I just set the tile and moved on. On a small job like a backsplash or a bathroom floor made of mosaic sheets, the leveling system is overkill. The tiles are already flat and the grout joints are small, so lippage is rarely a problem. I used plain spacers on my bathroom wall when I retiled around the tub, and the result was perfectly good. The tiles were 4x12 subway, and the wall was flat. I didn't need to pull them level because they were already level.
Plain spacers also win if you are on a tight budget or if you are tiling a space where the floor will be covered with a rug or a mat. The DGSL kit costs more up front, and you have to decide whether that cost is worth it for a floor that will mostly be hidden. For a laundry room or a closet, I would probably use plain spacers and save the leveling system for the rooms where the floor is actually on display. Another consideration is that plain spacers are disposable and cheap. If you are tiling a closet that will be covered with shelves and storage, you might never notice lippage. And if you are tight on money, the price difference between a bag of spacers and a leveling kit can be the difference between doing the job now and waiting. On my hallway, the leveling system earned its keep because the floor stretches from the front door to the garage and gets walked on constantly. On the pantry floor, which is only five feet deep and covered with shelving, plain spacers would have been fine. The extra step of leveling is not worth it if you will never see the result.
Skip the wavy floor before it happens
The DGSL Tile Leveling System is the tool I reach for now whenever I lay large format tile. It takes a little longer on the front end and saves you from a lifetime of feeling that wavy edge under your feet. If you are about to lay a big floor, this is the upgrade worth making.
Amazon Check Today's Price on Amazon →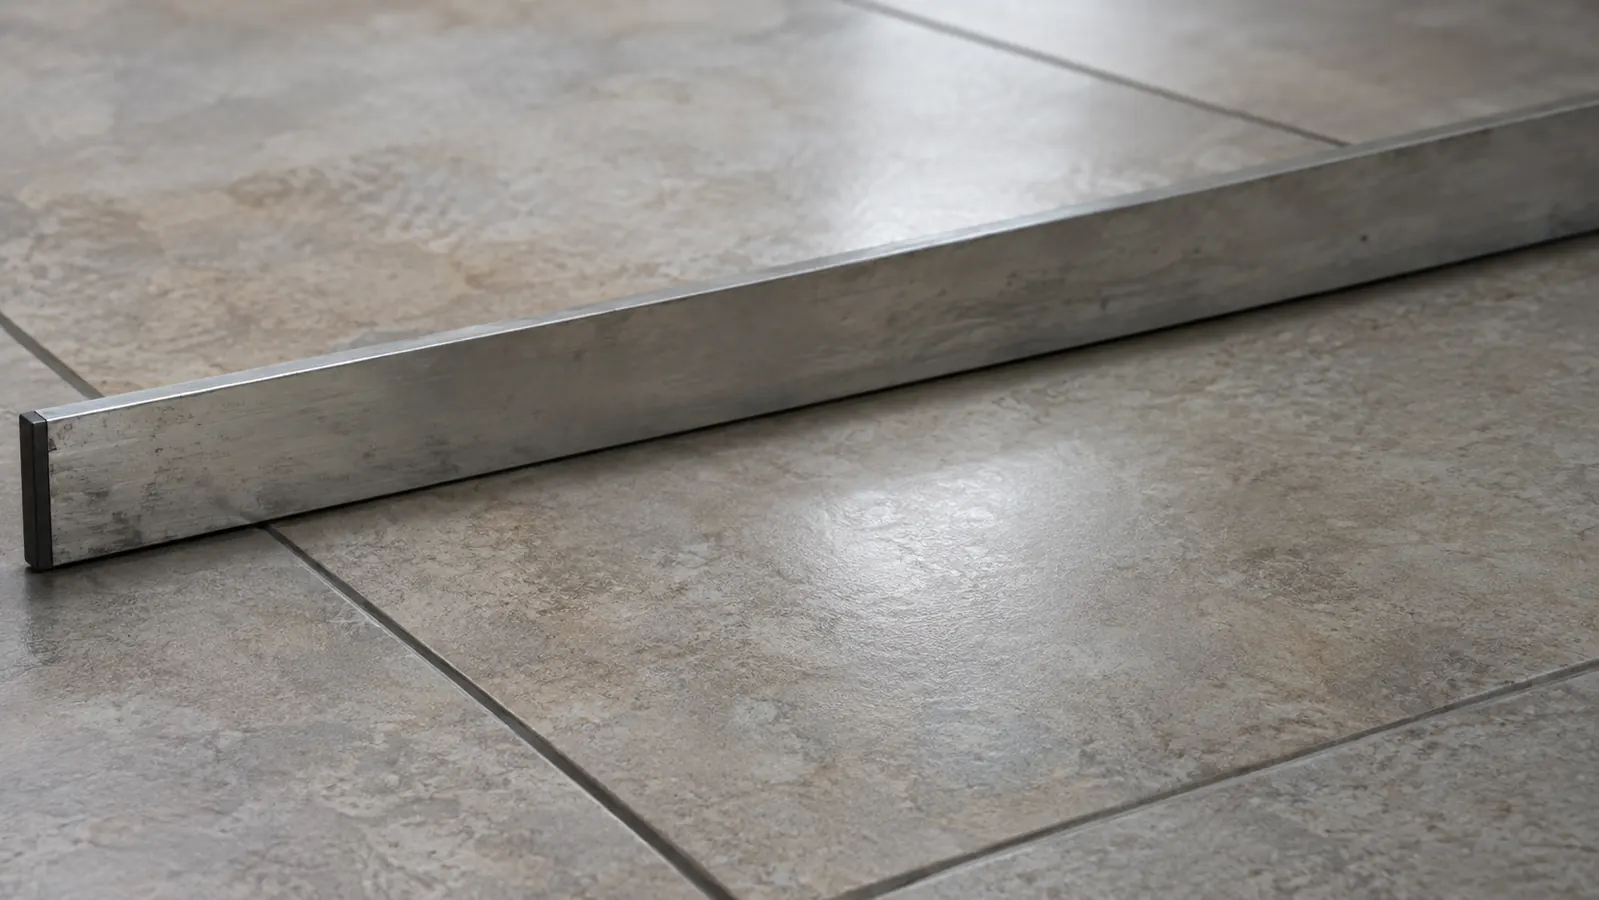
Who Should Buy Which
Buy the DGSL Tile Leveling System if you are laying large format tile, if you are tiling a floor you will walk on barefoot, or if you have ever looked at a tile floor and noticed the way light catches the edge of a tile that sits a little too high. Buy it if you are a solo DIYer who needs the tile to stay put while you work. The system is also a good choice if you are tiling a room with uneven subfloor, because the wedges can pull tiles level even when the mortar bed is not perfectly flat. On my hallway, I had a low spot about six inches wide that I filled with a thin layer of mortar before I started. The DGSL wedges still pulled the tiles flush across that dip, and the floor came out flat. If you are the kind of person who looks at a floor and notices the way light catches the edge of a tile, you already know you want the leveling system. If you are tiling a room where guests will walk barefoot, or where you will sit on the floor with a dog, the investment pays off in comfort and appearance. The system is especially helpful if you are working alone, because the wedges hold the tile in place while you mix the next batch of mortar.
Stick with plain spacers if you are tiling a small wall, a backsplash, or a floor made of mosaic sheets. Stick with them if you are on a tight budget or if the floor will be covered. And if you are a professional who has laid hundreds of feet of tile, you already know which system you prefer. For the rest of us, the DGSL system is the difference between a floor that looks hand-done and a floor that looks professional. On the other hand, if you are tiling a wall with tiles smaller than 6 inches, or if you are using mosaic sheets, the leveling system is overkill. The tiles are small enough that lippage is almost impossible to see. Also, if the floor will be covered with a rug or a mat, the extra time might not be worth it. I would still say that once you try a leveling system on a visible floor, you won't go back to plain spacers for the same kind of job.
Put a level floor under your feet
Whether you are gutting a bathroom or finally finishing that hallway, the DGSL Tile Leveling System is the upgrade that pays for itself in the first barefoot step. Check today's price and see if it fits your next job.
Amazon See Today's Price on Amazon →