
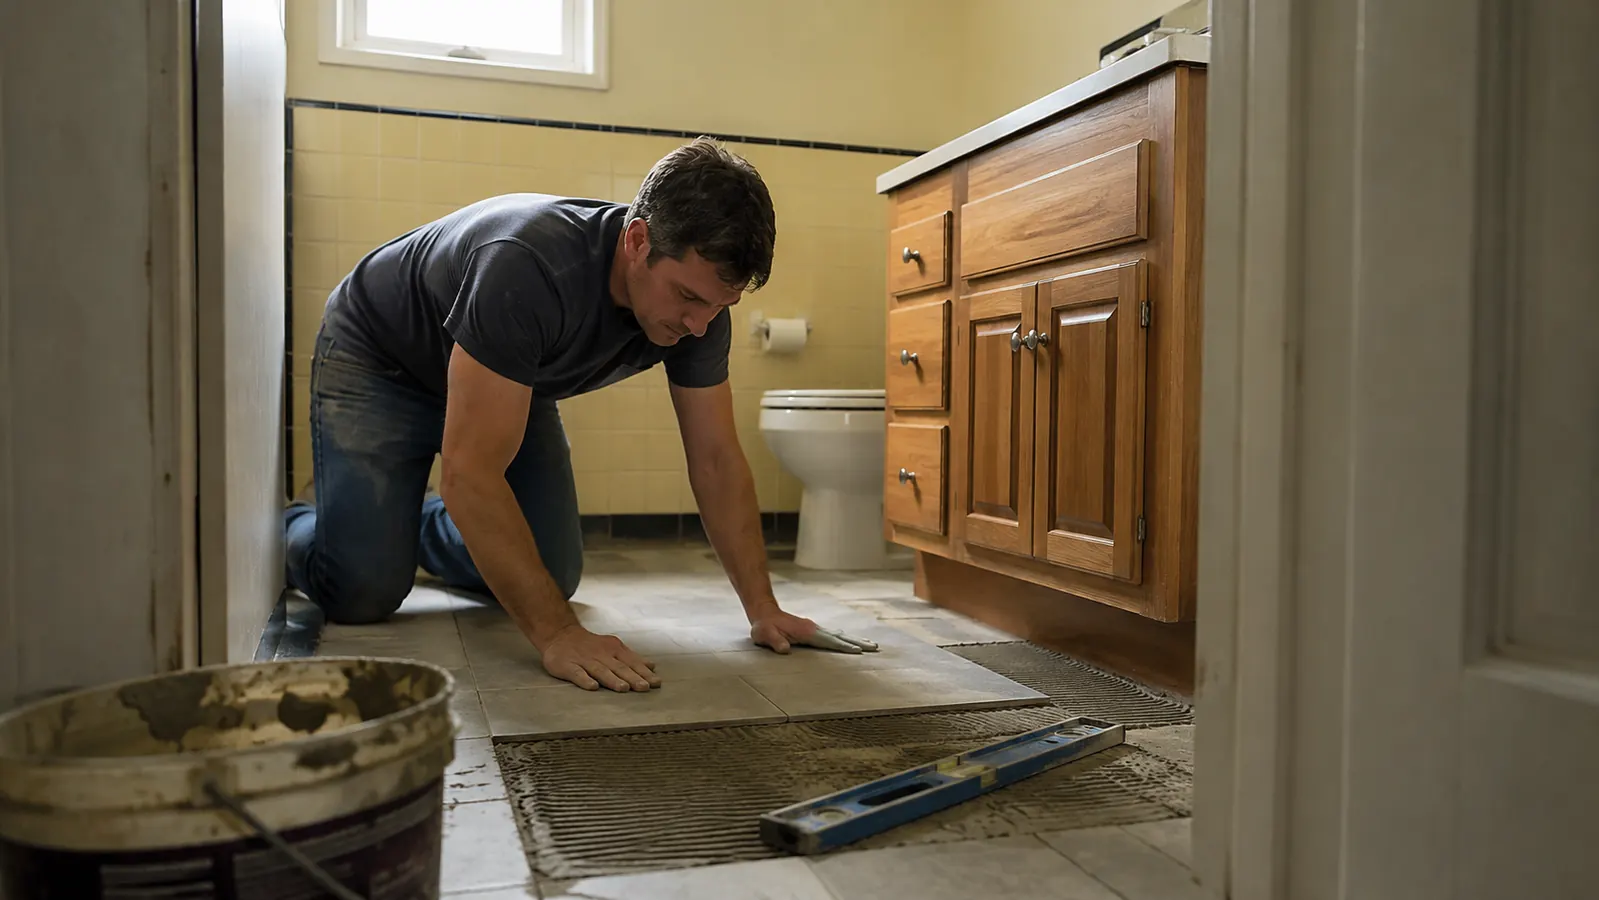
The bathroom floor sat half-tiled for three weekends before I admitted the problem wasn't the tile. It was me. I had spread thin-set, set a row of twelve-inch porcelain squares, and stepped back to admire my work. The grout lines looked like a child's drawing of a ladder. One tile sat proud of its neighbor by a good eighth of an inch, and no amount of tapping with a rubber mallet was going to fix it. That is when my husband, who does the heavy lifting and not much else, asked the question I had been avoiding: "Do you want to call someone?" I did not want to call someone. I wanted to finish the floor in my 1962 ranch the way I had finished the kitchen, the living room, and the first bathroom: myself, on weekends, with the garage workshop I have spent fourteen years building one tool at a time.
So I did what I always do when a project goes sideways. I read everything I could find, watched a few videos at double speed, and ordered the DGSL Tile Leveling System with Plier, 300 Tile Spacers 1/16" and 100 Wedges. The idea is simple: you slide a clip under two adjacent tiles, push a wedge into the clip, and tighten it with the plier. The wedge pulls the tops of both tiles flush. You leave the clips in place while the thin-set cures, then snap them off and fill the holes with grout. It sounded almost too easy. I have learned to be suspicious of easy.
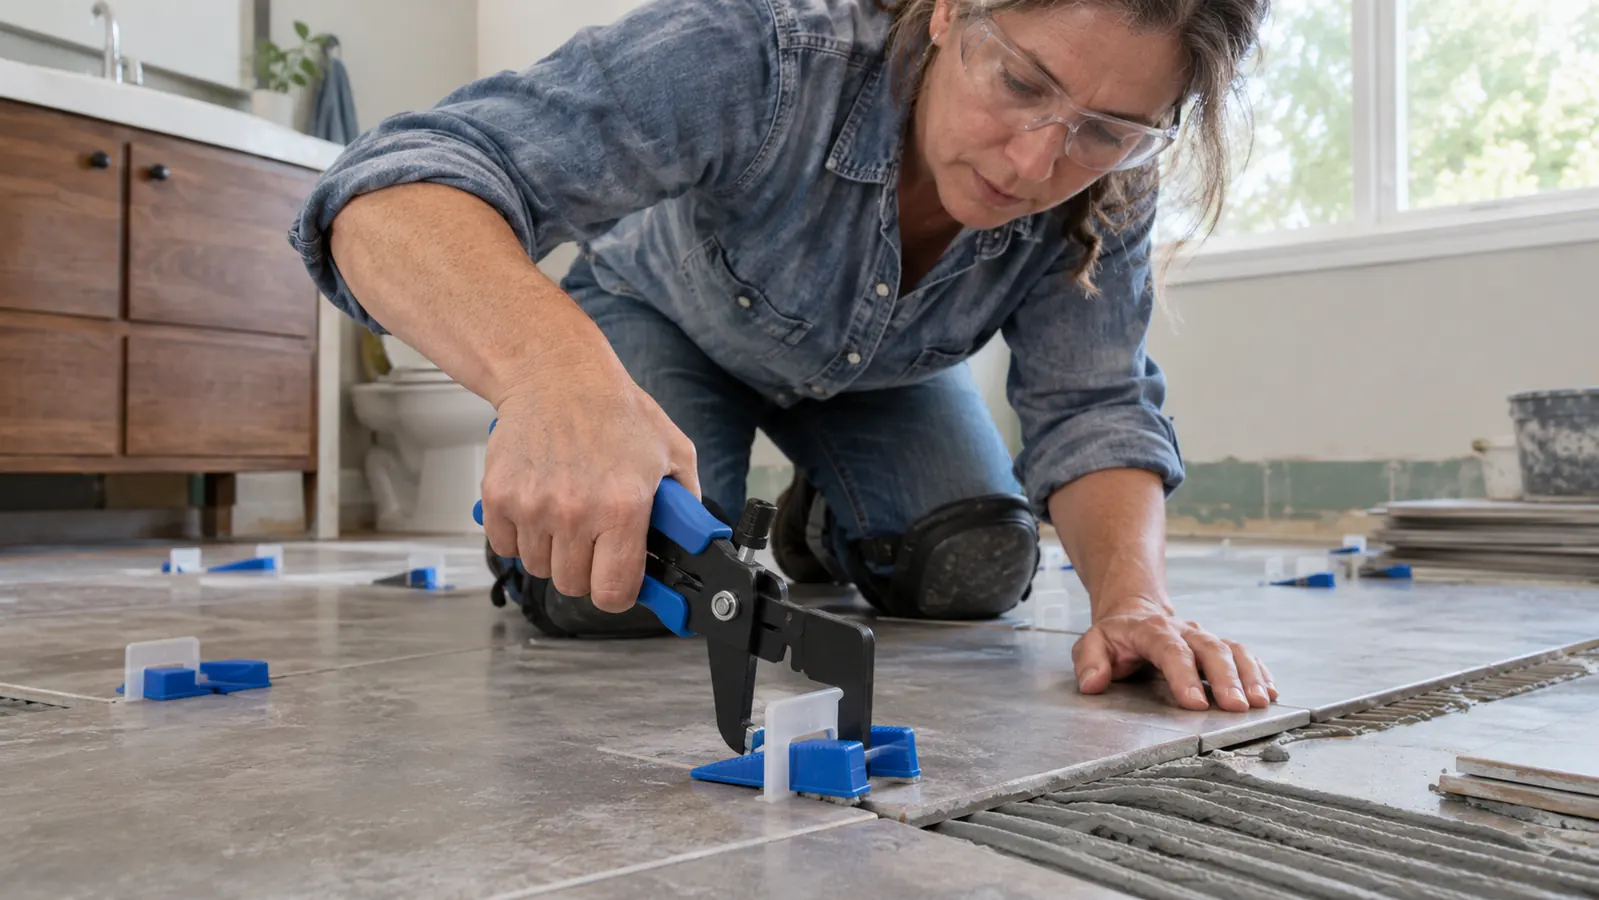
The box arrived on a Thursday. I opened it in the garage, on the folding work table, and laid out the pieces the way I lay out a recipe before I start cooking. Three hundred clips, one hundred wedges, and the plier. The clips are small, flat plastic tabs with a slot in the middle. The wedges are little ramps. The plier is a sturdy tool with a notch that grabs the wedge and pushes it home. Nothing about it looked complicated. That should have been my first clue that the learning curve was going to be about technique, not equipment.
That Saturday, I mixed a fresh batch of thin-set, troweled a section of floor, and set the first tile. Then the second. I slid a clip under the edge, set the wedge, and squeezed the plier. The tops of the two tiles came together like a book closing. I did the same at the next joint, and the next. By the end of the first row, I had stopped checking the level after every tile. The clips were doing the checking for me. By the end of the second row, I was grinning the way I grin when a drawer slides shut on new runners. This is the part of the story where I am supposed to tell you the floor came out perfect. It did not. I made mistakes. But the mistakes were mine, not the system's, and the system made them fixable.
By the end of the first row, I had stopped checking the level after every tile. The clips were doing the checking for me.
The tool that finally made my tile lines straight
If you are fighting lippage on a bathroom floor, the DGSL Tile Leveling System is the fix I wish I had bought before my first attempt. Check today's price on Amazon and see if it fits your next tile project.
Amazon Check Today's Price on Amazon →The first mistake was my own impatience. I set too many tiles at once and let the thin-set skin over before I got the clips in. The wedge still seated, but the tile had already settled, so the clip pulled it up a hair and left a tiny hollow spot. I caught it because I was checking the floor with a straightedge before the thin-set cured. I pulled the tile, scraped the bed clean, and reset it. That is the thing about the DGSL system: it does not fix a bad mud bed. It fixes the relationship between two tiles. If the floor underneath is not flat, the clips will happily pull your tiles down to meet the dip, and you will have a lippage-free floor that looks like a gentle wave. I learned to check the floor with a long level before I started, and to feather any low spots with self-leveling compound. That prep work is not glamorous, but it is the difference between a floor that looks professional and a floor that looks like mine did on the first attempt.
The second mistake was the wedges. I pushed them in by hand before using the plier, and I did not always get them fully seated. The plier fixed that, but I learned to listen for the click. When the wedge is fully home, the plier makes a small, satisfying sound, and the tops of the tiles line up. If you do not hear it, the wedge is not seated, and you will have a tile that sits a fraction high. The fix is simple: pull the wedge, reseat it, squeeze again. It takes five seconds. The first time I did it, I felt like I had discovered something. The second time, I felt like a professional. By the third row, I was moving fast enough that my husband came in to see what all the clicking was about.
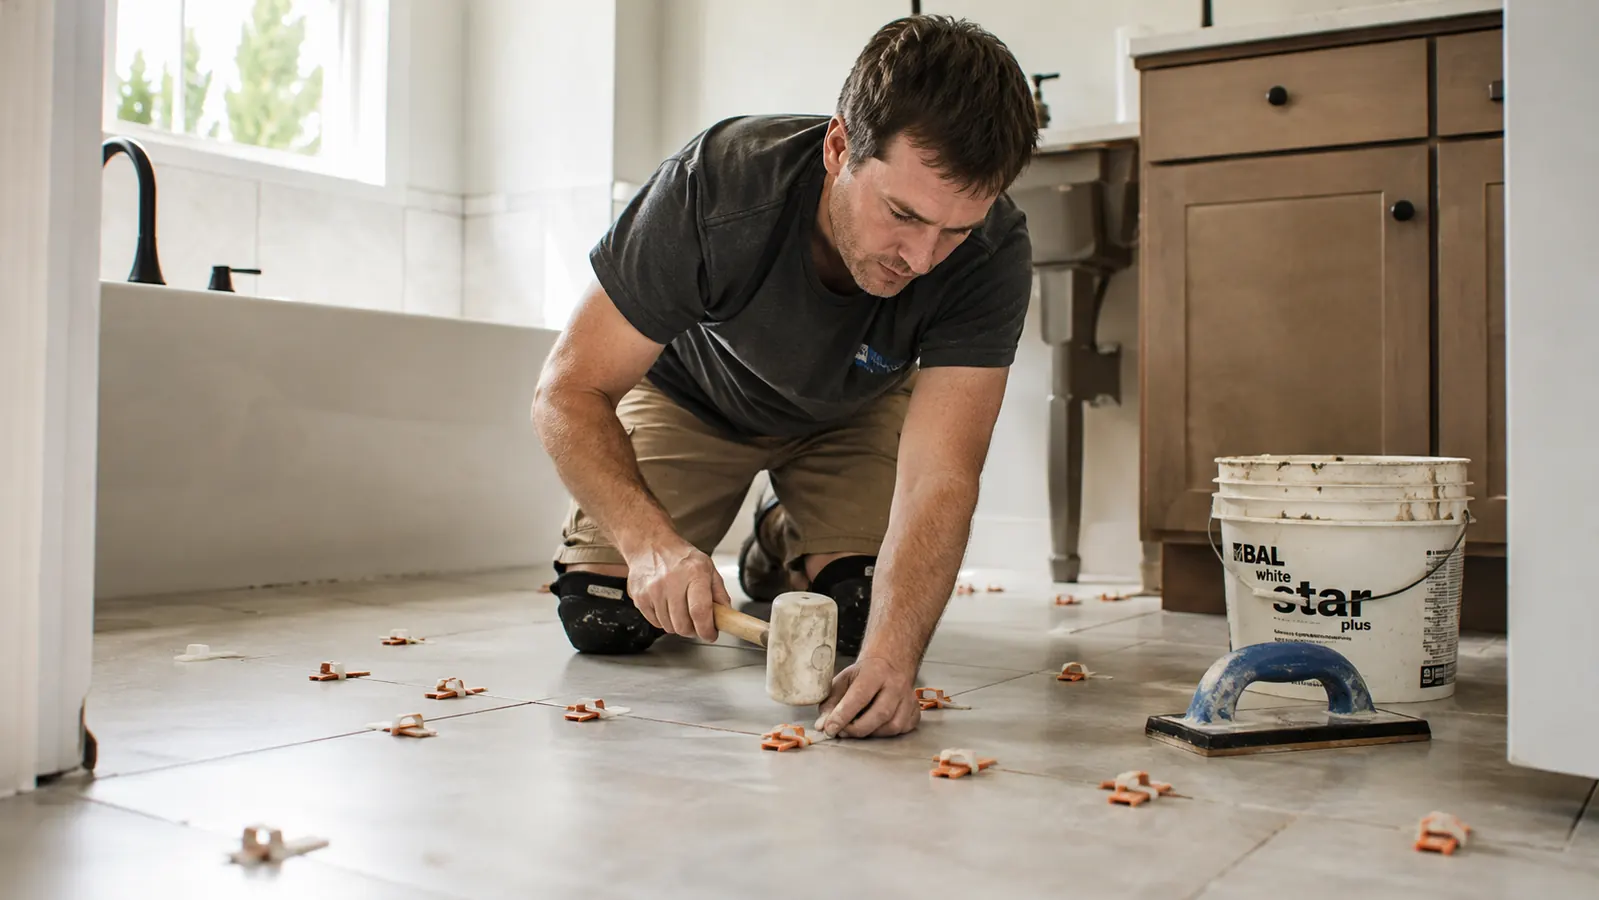
The third mistake was the one I was most embarrassed about. I left the clips in too long. The instructions say to remove them after the thin-set cures, and I left them for a full week because life got in the way. When I finally went to snap them off, a few of them fought back. The plastic had become brittle, and one clip snapped off flush with the tile surface, leaving a small piece stuck in the grout line. I had to dig it out with a utility knife, carefully, so I did not chip the tile. It took ten minutes and a lot of patience. My advice: remove the clips the next day, or as soon as the thin-set is firm enough to hold the tiles in place. Do not wait a week. The system works better when you follow the timing.
When the grout went in, I finally saw the payoff. The grout lines were straight and even, the kind of lines you see in magazine photos and assume someone else's contractor did. I ran my finger along a joint and could not feel the transition between tiles. That is the whole point of a leveling system, and the DGSL delivered it. The floor is not perfect. Up close, you can find a tile here and there that sits a hair off, usually where I rushed the thin-set or did not fully seat a wedge. But standing in the doorway, which is how you actually see a floor, it looks like a professional install. My husband, who does not hand out compliments, stood in the doorway and said, "That looks like a real floor." Coming from him, that is a five-star review.
What I'd Tell You If We Were Sitting at My Kitchen Table
If you were sitting at my kitchen table, coffee in hand, I would tell you this. The DGSL Tile Leveling System is not magic. It will not fix a floor that is not flat, and it will not fix thin-set that has skinned over. It is a tool that does one job, and it does that job well: it keeps the tops of your tiles flush while the adhesive cures. If you are tiling a floor for the first time, or the fifth time, and you have ever stood back and sighed at a wavy grout line, this is worth trying. It is not the cheapest way to tile a floor, but it is cheaper than tearing out a floor and starting over. And it is a lot cheaper than the argument my husband and I would have had if I had called someone to finish the job.
I would also tell you to buy the clips and wedges in a quantity that matches your project. The 300-clip kit is right for a small bathroom floor, but if you are tiling a large room, you will want more. You can always use the leftovers on the next project, and if you are anything like me, there is always a next project. The plier is worth having, even if you think you can push the wedges in by hand. You cannot, not reliably, and your knees will thank you for not trying.
Finally, I would tell you to be patient with yourself. The first row will be slow. The second row will be faster. By the third row, you will be moving like you have done it a hundred times, because you have, in a way. The DGSL system does not make you a better tile setter overnight. It just removes the one thing that made me want to quit: the feeling that my hands were not steady enough to make a straight line. They were steady enough. I just needed the right tool.
Start your tile project with the tool I wish I'd had sooner
The DGSL Tile Leveling System with Plier, 300 Tile Spacers 1/16" and 100 Wedges is the kit I used on my own bathroom floor. Check today's price on Amazon and see if it is the missing piece in your next remodel.
Amazon Check Today's Price on Amazon →