
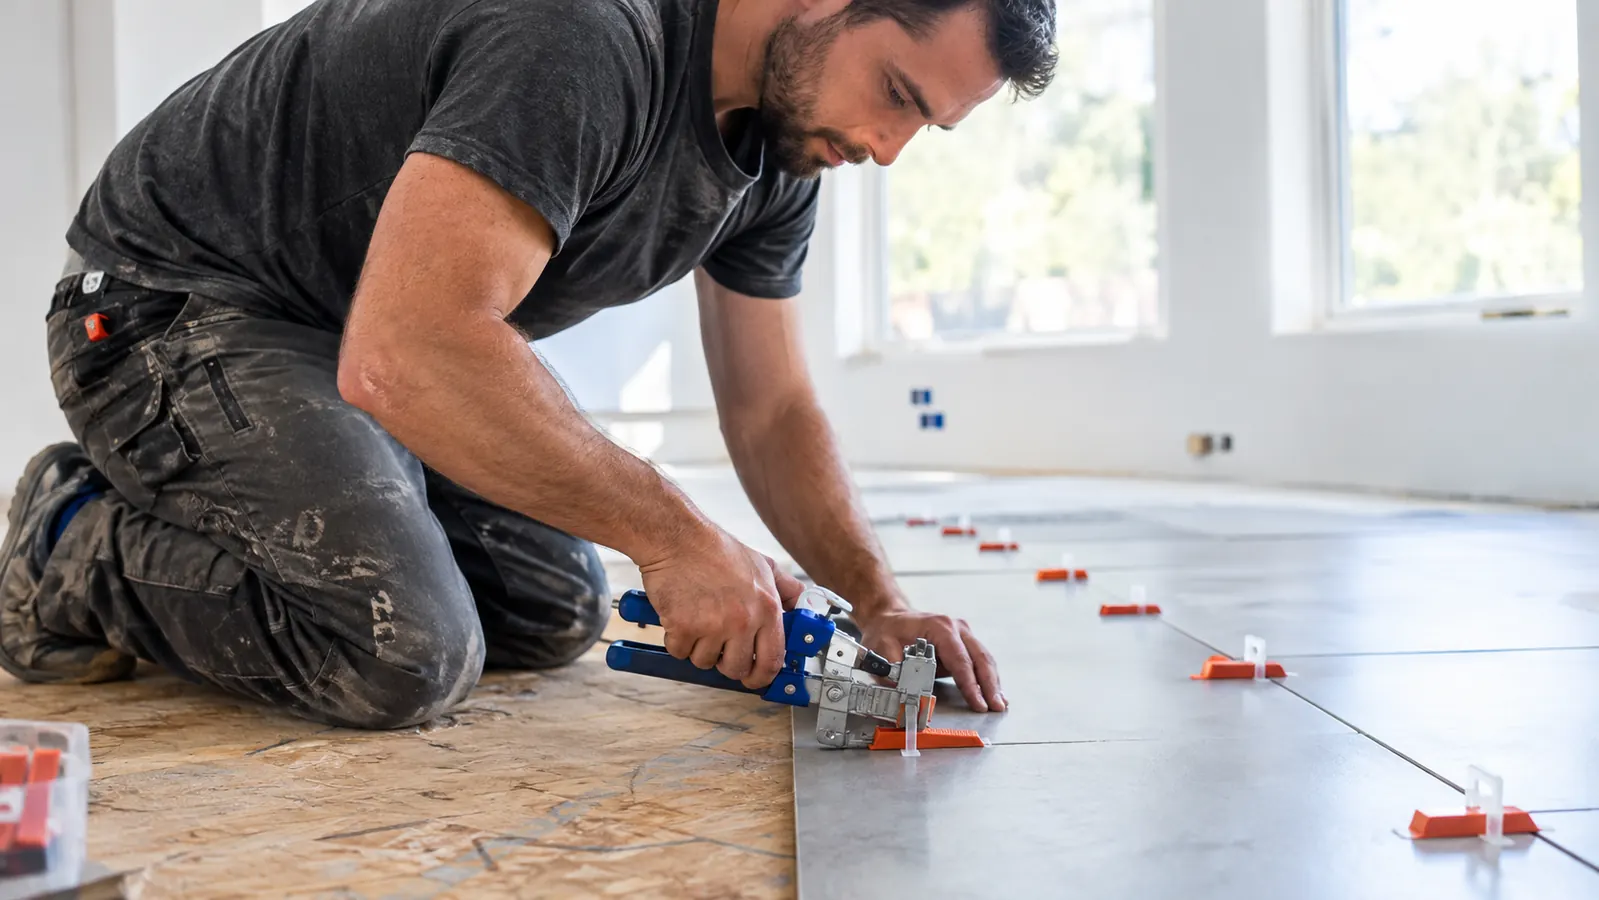
The first time I tiled a floor, I used plain plastic spacers and a lot of hope. The result looked fine from across the room and wavy up close, with two corners that stuck up just enough to catch a bare foot. When I redid the kitchen in my 1962 ranch last spring, I tried the DGSL Tile Leveling System instead, and the difference showed up in the very first row. This is the honest version of what that kit does for a homeowner who tiles one room at a time on weekends.
Flat Floors Start With the First Row
The DGSL Tile Leveling System with plier, 300 spacers and 100 wedges is the kit I keep reaching for in my garage workshop. Check today's price on Amazon and see if it fits your next tile job.
Amazon Check Today's Price on Amazon →It Fixes the Problem You Did Not Know You Had
Plain spacers keep the gaps even, but they do nothing about height. One tile sits a hair higher than its neighbor, the next sits a hair lower, and by the time the thinset cures you have a floor that catches light unevenly. The DGSL system pulls the tops of adjacent tiles level with each other while the adhesive is still workable. That is the whole job, and it does it well. On my first bathroom floor, I did not even know lippage had a name until a friend ran her hand across the surface and asked why it felt bumpy. With the DGSL system, I checked every joint with my fingertips as I went, and the difference was obvious by the end of the first row.
The Plier Makes It a One-Person Job
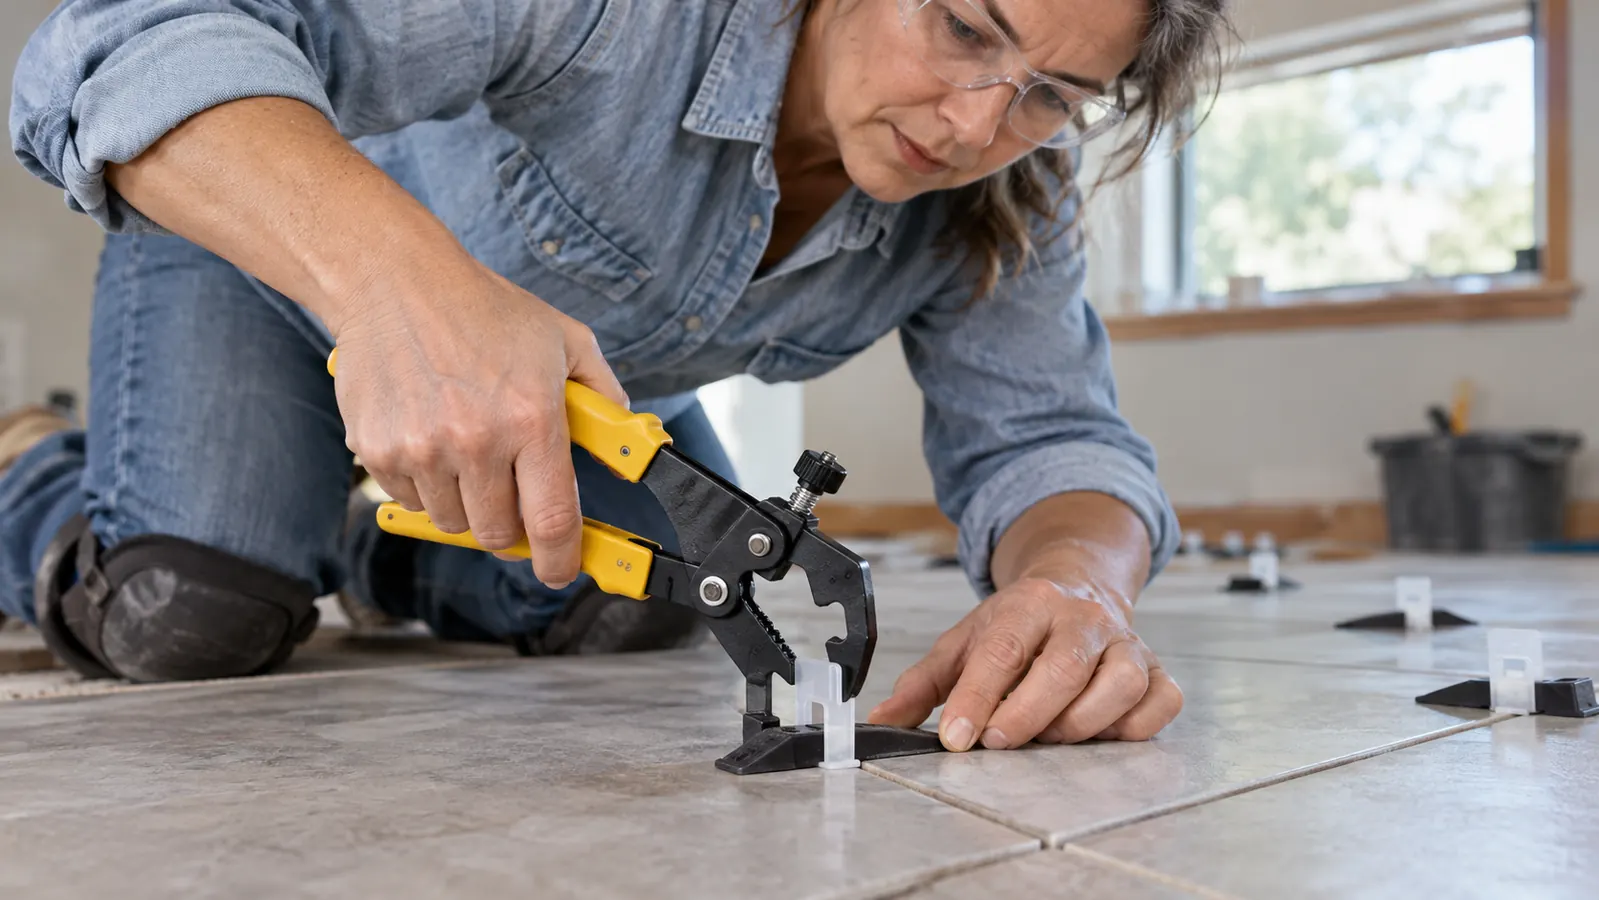
The kit includes a plier tool designed to grip the strap and push the wedge home. You do not need a second person to hold a tile down while you fiddle with a wedge. I worked alone in my converted garage workshop for most of the kitchen floor, and the plier kept my hands free and my rows moving. My husband helped with the heavy 24 by 24 inch porcelain slabs, but the actual leveling was mine alone. On a Saturday morning in April, I set 40 tiles before lunch without once calling for an extra pair of hands.
The Straps Are Generous Enough for Real Mistakes
The kit comes with 300 spacers and 100 wedges, which sounds like a lot until you drop a wedge behind the sawhorse or snap a strap because you pushed too hard. I wasted a few while learning the rhythm, and I still had enough to finish a small bathroom and a kitchen backsplash without ordering more. I snapped two straps on the first day because I tried to force a wedge past a high corner instead of lifting the tile and adjusting the thinset. After that I slowed down, and the remaining 298 straps carried me through the whole kitchen floor with plenty left over.
It Works With the Tiles You Already Bought
The 1/16 inch spacers suit rectified porcelain and ceramic tiles with tight, consistent edges, which is what most big-box stores sell for DIY projects. If your tiles are the kind with noticeable edge variation, the system still helps, but you will want to check each joint by hand before the thinset sets. The 12 by 24 inch porcelain planks I used in the kitchen were flat enough that the straps did most of the work. On the bathroom floor, where I used a cheaper ceramic tile with a slight bow in the middle of every piece, I had to back-butter a few tiles and let the straps pull the edges down. It took longer, but the finished floor was still flat.
It Turns a Wavy Floor Into a Flat One
The real test came when I ran my hand across the finished kitchen floor. With plain spacers, I could feel every high spot. With the DGSL system, the surface felt like one continuous plane. That is the difference between a floor you are proud of and a floor you apologize for. I laid a 6 foot straightedge across the grout lines after the thinset cured, and I could not slide a credit card under it anywhere. On the old bathroom floor, the same straightedge rocked over a high corner near the door. That one measurement told me more than any amount of squinting at the surface.
It Saves You From the Worst Kind of Rework
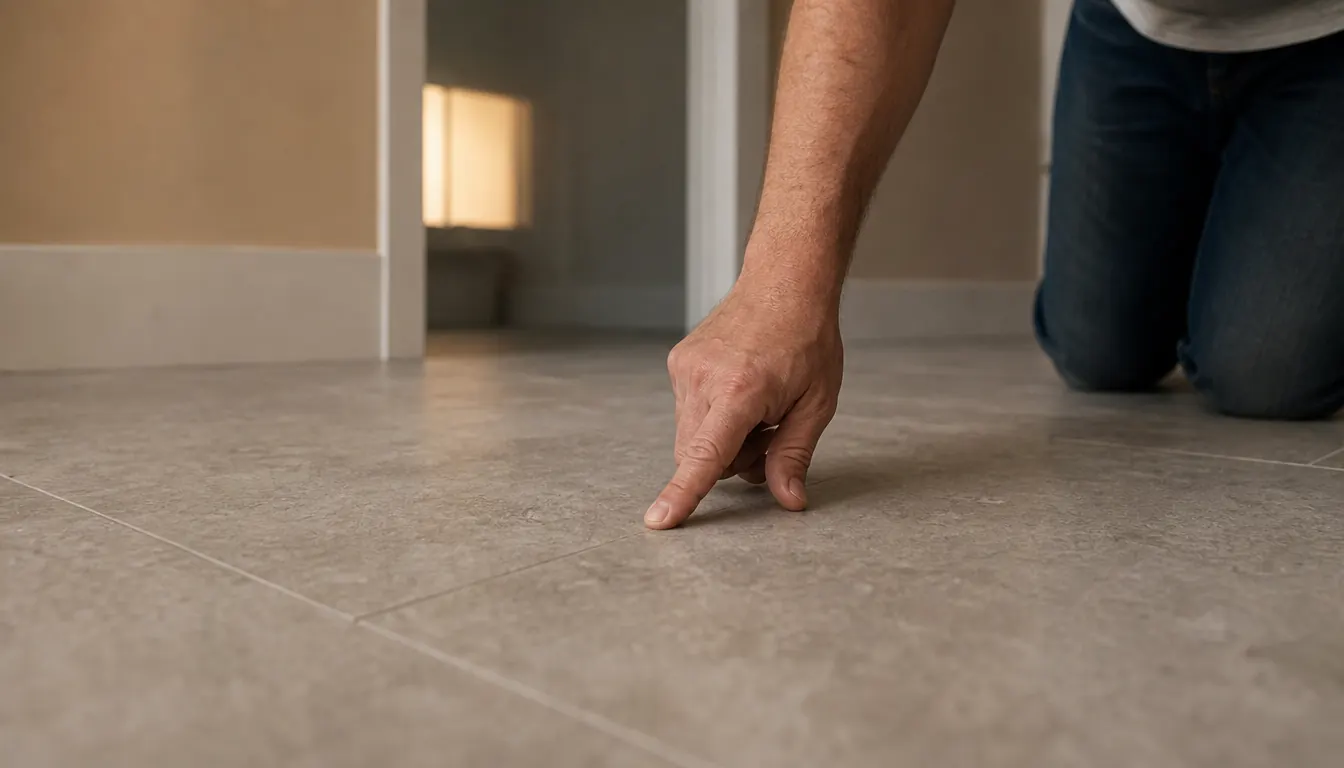
Tearing out a tile after the thinset cures is miserable. It takes a chisel, a grinder, and a vocabulary I try not to use in front of the neighbors. The DGSL system catches lippage while the adhesive is still soft, so you fix a problem in minutes instead of days. I learned this the hard way on the first bathroom, where I left a high corner alone because I was tired and told myself nobody would notice. Somebody noticed. It took me a full Sunday afternoon to chisel that one tile out, clean the thinset off the subfloor, and set a replacement. With the DGSL system, I caught the same kind of problem on the kitchen floor while the thinset was still workable, lifted the tile, added a little more adhesive, and reset it in about ten minutes.
The Wedges Snap Off Cleanly
After the thinset cures, you knock the wedges loose with a mallet or a block of wood. On my kitchen floor, most of the straps snapped off flush with the tile surface. A few needed a light tap with a chisel, but none left a divot or a chunk of plastic stuck in the grout line. I waited the full 24 hours before I started snapping, and I think that patience helped. The straps came off in one piece, and I swept the broken bits into a dustpan before I mixed the grout. On the backsplash, where I only waited overnight, a couple of straps were a little harder to knock loose, so I would recommend giving the thinset the full cure time.
It Teaches You to Trust the Process
The first few straps feel fiddly. By the tenth one, you stop second-guessing and start moving. The system gives you a clear sequence: set the strap, lay the tile, push the wedge, move on. For a homeowner who only tiles once every few years, that kind of structure is worth more than the price of the kit. I remember standing over the first row of kitchen tiles with the plier in my hand, convinced I was doing it wrong because the wedge did not want to seat. By the time I finished the second row, I had the angle figured out, and by the third row I was setting wedges without looking. That rhythm is what got me through 200 square feet of floor without a single do-over.
It Works for Floors, Walls, and Backsplashes
I used the DGSL system on a bathroom floor, a kitchen floor, and a backsplash in the same house. The straps fit between tiles on a vertical surface just as well as a horizontal one, as long as you let the thinset firm up a little before you set the wedges on a wall. On the backsplash, I mixed the thinset a bit stiffer than I would for a floor, troweled it on, and pressed the tiles into place. Then I waited about twenty minutes before setting the wedges, so the tiles did not slide down the wall while I worked. The result was a straight, flat backsplash with grout lines I did not have to defend to anyone.
It Makes the Next Project Feel Possible
The biggest benefit is not any single tile. It is the confidence that comes from knowing your floor will be flat before you grout. I have a hallway left to do in this house, and for the first time I am looking forward to it instead of dreading the lippage. The hallway is about 40 square feet of 12 by 12 inch ceramic tile, and I have already pulled the DGSL kit out of the workshop to count the straps. I know the subfloor needs a little leveling compound in one corner, and I know the tiles are flat enough for the system to do its job. That is a much better place to start a project than hoping for the best.
What I'd Skip
If you are tiling a tiny backsplash with a handful of tiles and a weekend to finish, you can probably get away with plain spacers and a straightedge. The DGSL system shines on floors and larger areas where lippage is easy to see and hard to fix. I would also skip it if your tiles are heavily textured or wildly inconsistent in thickness, because the leveling straps can only do so much when the tile itself is the problem. And if you are the kind of person who tiles once a decade and never thinks about it again, the learning curve, small as it is, may not be worth the cost. For the rest of us, the kit earns its place in the toolbox.
The difference between a floor you are proud of and a floor you apologize for is often just a few millimeters of lippage.
Your Next Floor Deserves a Flat Start
The DGSL Tile Leveling System with plier, 300 spacers and 100 wedges is the kit I keep in my workshop for every tile job. Check today's price on Amazon and see if it earns a spot in your toolbox too.
Amazon Check Today's Price on Amazon →