
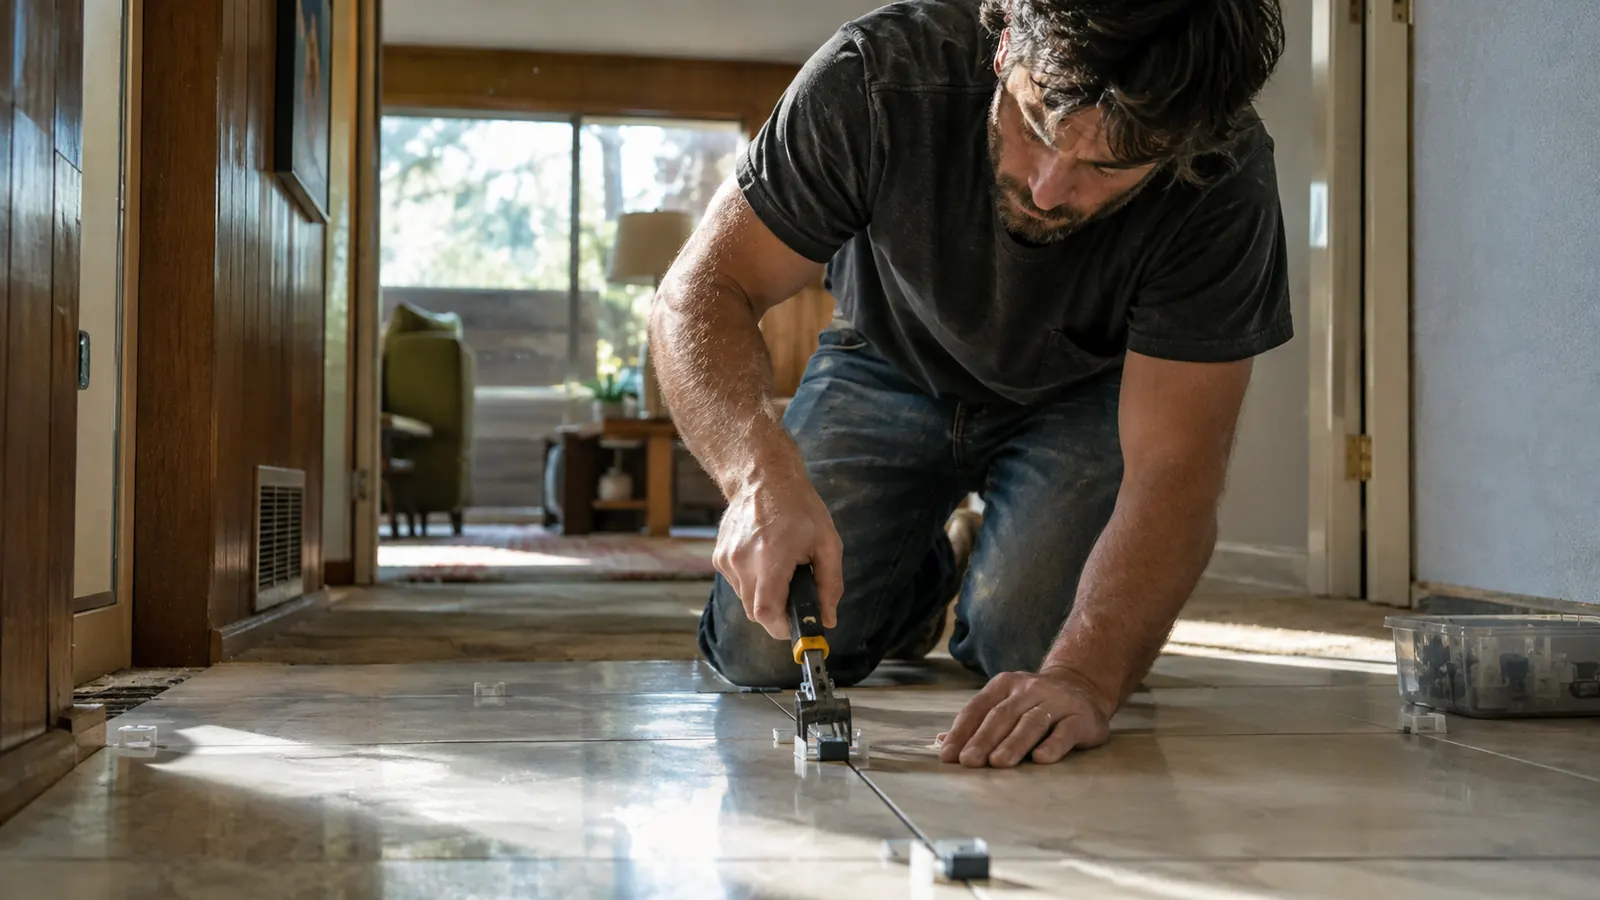
I have tiled four rooms in my 1962 ranch in Fresno, and every single time the same thing happened: I would set a tile, eyeball it against the one next to it, tap it down, and then stand up, walk three feet, and see a tiny lip where the two edges refused to line up. On a bathroom wall you can live with it. On a hallway floor that catches the afternoon light, it is the first thing you see every time you walk through the house. So when I started the guest bath remodel last fall, I finally bought the DGSL Tile Leveling System, and I have now used it on enough tile to have real opinions.
This is not a review written after one weekend project. This is months of real use: a full guest bathroom floor, a shower wall, a laundry room floor, and a patch job in the hallway where the old linoleum had to go. The DGSL system is a simple idea, plastic clips that sit under two tile edges and wedges that you tighten with a plier to pull the edges level. The question is whether it holds up when you are on your knees for six hours, whether the clips snap cleanly, and whether the results actually look like a professional did the work. I have answers.
The Quick Verdict
The DGSL Tile Leveling System does exactly what it promises: it keeps tile edges level, it is forgiving for a first-time user, and the price is right for a DIY homeowner. It is not the fastest system on the market, and you will need to be patient with cleanup, but for the money it is the best way I have found to get a flat floor without hiring someone.
Amazon Check Today's Price →Want flat tile without the frustration?
The DGSL Tile Leveling System comes with 300 clips, 100 wedges, and the plier you need to tighten them. It is the kit I reach for every time I set tile now.
Amazon Check Today's Price on Amazon →How I've Used It
My husband and I bought the house as a dated fixer, and I have been working through it room by room on weekends for the last 14 years. The guest bath was the last big tile job on my list: a 5 by 8 foot floor, a walk-in shower with a bench, and a wainscot accent wall. I set all of it with the DGSL system, and then I used the leftover clips on the laundry room floor and a hallway patch.
The kit comes with 300 clips, 100 wedges, and a plier. For the guest bath alone I used about 240 clips, which tells you the kit is sized for a single medium room rather than a whole house. The clips are the 1/16 inch size, which means they are designed for tile that is fairly flat to begin with. If you are working with heavily warped tile, you would want the larger size, but for standard ceramic and porcelain from a big box store, 1/16 inch is the right call.
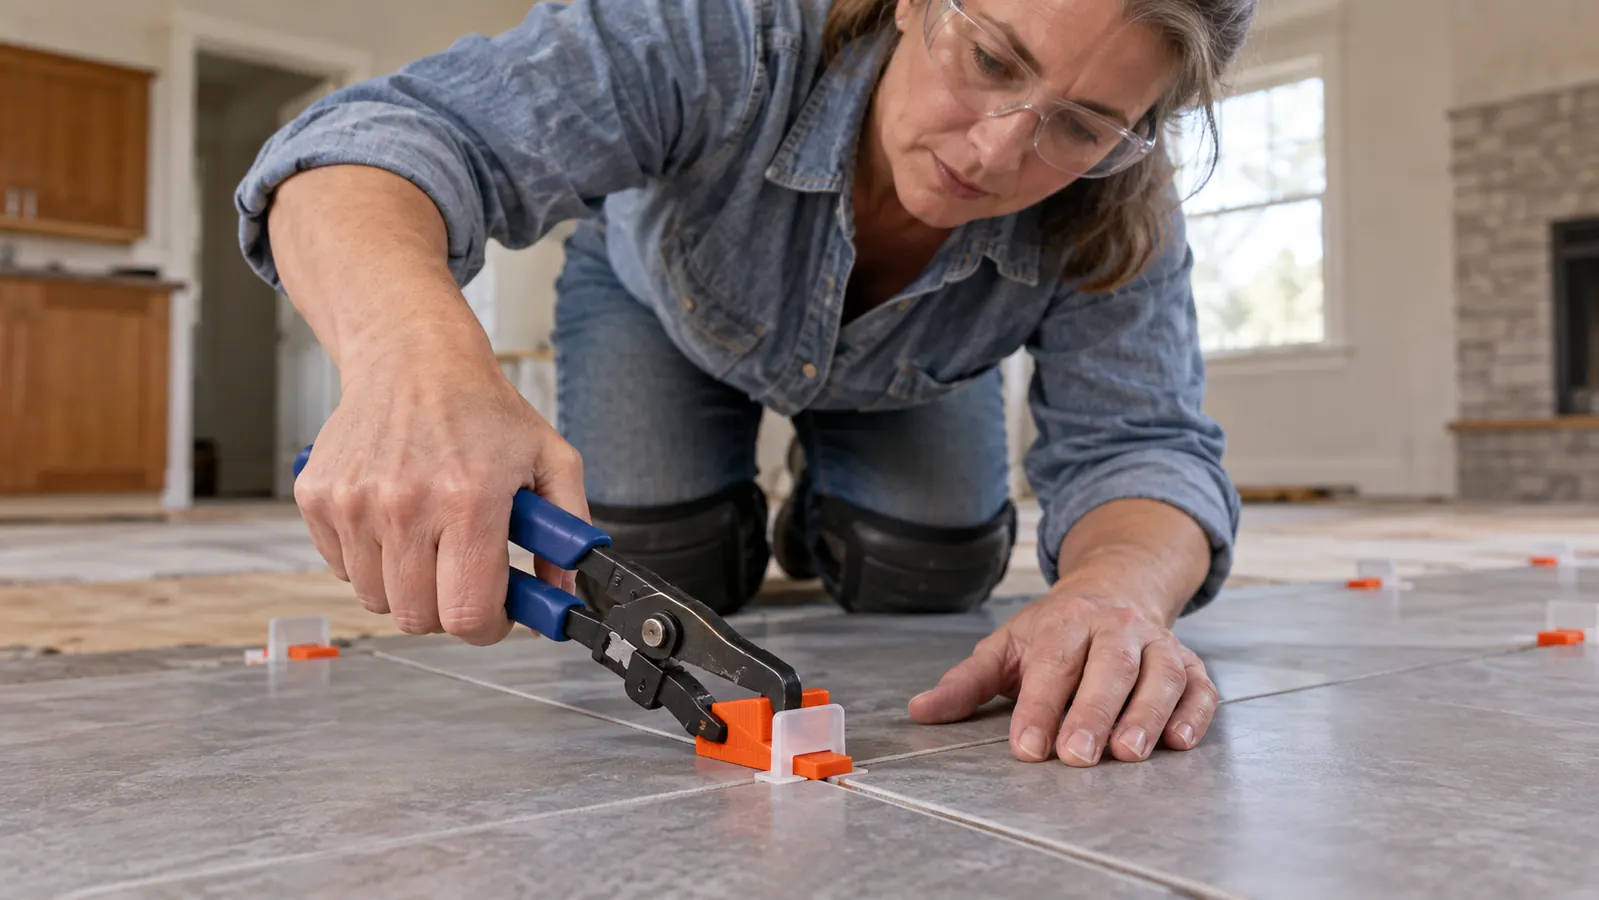
The process is straightforward. You lay your tile with thinset, slide a clip under the edge of the tile you just set, then slide the next tile up against it. The clip sits in the grout joint, with the little tab sticking up. You push a wedge into the tab, and then you squeeze the plier to pull the wedge down. That pulls the two tile edges level with each other. You leave the clips in place until the thinset cures, then you snap them off with a tap from a rubber mallet or a twist of the plier, and you fill the joint with grout.
The first time I used it, I made the mistake of tightening the wedges too hard. The plier has a ratcheting mechanism, and I kept squeezing past the point where the tile edges were level. I actually cracked one tile in the corner of the laundry room because I was not paying attention to the sound. The fix is simple: tighten until the edges are flush, then stop. The ratchet clicks, and you can feel when the wedge is seated. You do not need to crank it like you are tightening a bolt.
What the DGSL System Does Well
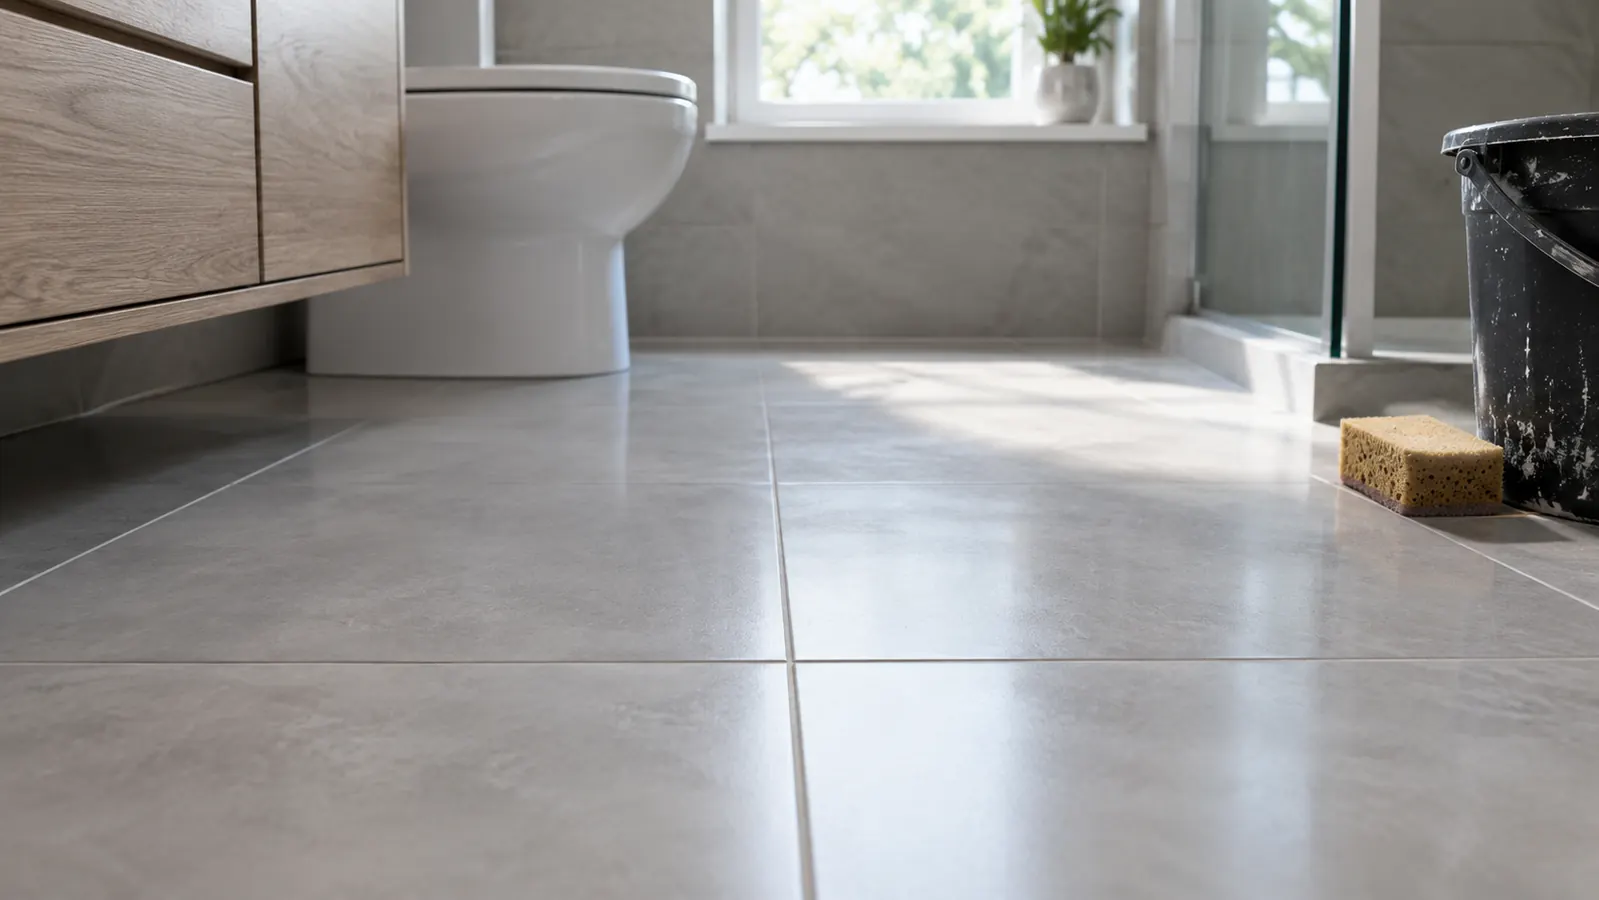
The biggest win is the obvious one: the tile edges stay level. On the guest bath floor, I had zero lippage on the main field. Zero. I walked the floor in my socks after the thinset cured, and I could not feel a single transition. That has never happened for me before, not once, in four rooms of tile. The difference is not subtle. It is the difference between a floor that looks like a homeowner did it and a floor that looks like a contractor did it.
The second thing I noticed is that the system speeds up the leveling part of the job even though it adds a step. Without clips, I would spend a minute or two per tile tapping, checking with my level, tapping again, and still getting it wrong. With the DGSL system, I set the tile, slide the clip, push the wedge, squeeze the plier, and move on. The leveling is done in about ten seconds per tile. The clips do the thinking for you.
The plier is also better than I expected for a kit tool. The ratchet mechanism is smooth, the jaws grab the wedge without slipping, and the handle is comfortable enough for a full day of work. I have used cheaper leveling systems where the plier feels like a toy. This one feels like a real tool. It is not a professional-grade ratchet, but it is a long way from the flimsy pliers that come with some budget kits.
The clips themselves are sturdy. I was worried they would snap when I tightened them, especially on the shower wall where I was working with 12 by 24 inch tile that is heavier than it looks. I did not break a single clip during installation. The only clips I broke were the ones I snapped off after the thinset cured, and that is exactly what they are supposed to do. The breakaway point is clean, and the little nub that stays in the grout joint is small enough that it disappears once the grout is in.
Over time, the part I came to appreciate most was how forgiving the DGSL system is when you are working alone. On the hallway floor I did not have a helper, and I could only set a few tiles before I had to mix more thinset. The clips held each tile flush with its neighbors while I worked, so I could step away, mix a fresh batch, and come back without finding that the last few tiles had settled lower than the rest. That gave me the confidence to take my time, which is what a DIY tile job needs most.
Where It Falls Short
The honest part of this review: the DGSL system is not perfect. The biggest annoyance is cleanup. After the thinset cures, you have to snap off every single clip, and there are a lot of them. On the guest bath floor, that was 240 clips. On the shower wall, another 150. My husband and I spent a full evening on our knees with a rubber mallet and a putty knife, snapping and sweeping. It is not hard work, but it is tedious, and it is easy to underestimate how long it takes.
The second issue is that the wedges are single-use. Once you tighten a wedge, you cannot reuse it. The kit comes with 100 wedges, which is enough for about 100 clips, and the kit has 300 clips. That means if you use all 300 clips, you need to buy more wedges. I ran out of wedges halfway through the shower wall and had to order a refill pack. It is not expensive, but it is an extra trip to the store, and it is worth knowing before you start a big job.
The third thing is the learning curve. The first few clips, I either did not tighten them enough and got lippage anyway, or I tightened them too much and cracked a tile. It took me about 20 clips to get the feel for how much pressure is right. If you are a complete beginner, plan to practice on a few scrap tiles before you start your real floor. The system is forgiving, but it is not magic.
What I Liked
- Keeps tile edges genuinely level, even on large format tile with a slight bow
- The ratcheting plier feels like a real tool, not a kit toy
- Clips snap off cleanly and leave a small nub that grout hides
- Forgiving enough for a careful first-time user after a little practice
Where It Falls Short
- Cleanup is tedious: hundreds of clips to snap and sweep after the thinset cures
- Wedges are single-use, and 100 wedges run out before 300 clips do
- The 1/16 inch clips cannot fix heavily warped tile
- There is a real learning curve, and overtightening can crack a tile
I walked the guest bath floor in my socks after the thinset cured, and I could not feel a single transition. That has never happened for me before, not once, in four rooms of tile.
How It Compares to Plain Tile Spacers
If you have never used a leveling system, you might wonder why you would not just use the little plastic crosses that cost a few dollars for a bag of 100. I have used those for years, and they have one job: they keep the grout joint even. They do nothing for lippage. You can set two tiles perfectly spaced and still have one edge sitting a sixteenth of an inch higher than the other, because the spacer does not pull the tile down. It just holds it apart.
The DGSL system is a different tool for a different problem. The clip sits under both tile edges, and the wedge pulls them together until they are level. It is the difference between measuring and actually fixing. If you are tiling a small backsplash where the tile is flat and the wall is flat, plain spacers are fine. If you are tiling a floor that people will walk on in bare feet, or a shower wall where the light will catch every imperfection, the leveling system is worth the extra cost and the extra cleanup time.
Storage between jobs is simple, too. The leftover wedges are reusable, so I keep them in a zip bag with the pliers inside the box, along with a note of how many clips are left. On the next project I knew exactly how many new clips to buy instead of guessing.
Who This Is For
The DGSL Tile Leveling System is for the DIY homeowner who is tiling a medium-sized room and wants a professional-looking result without hiring a professional. It is for the person who has tiled before, knows how to set tile, and is tired of lippage. It is also for the beginner who is willing to practice on a few scrap tiles first. The system is forgiving enough that a careful first-timer can get good results, as long as they are patient and do not rush the cleanup.
It is especially good for floors and walls where the tile is large format, 12 by 24 or bigger, because those tiles are more likely to have slight warping that causes lippage. The clips pull the edges together and force the tile flat. On my shower wall, the 12 by 24 tile had a noticeable bow in the middle of some pieces, and the DGSL system handled it. Without the clips, I would have had to return half the tile or live with a wavy wall.
Who Should Skip It
If you are tiling a small backsplash with flat subway tile, you do not need this system. The tile is small, the wall is flat, and plain spacers will give you a perfectly good result. You would be adding cost and cleanup time for a problem you do not have.
If you are a professional tiler who sets tile every day, you probably already have a leveling system you like, and the DGSL kit is not going to replace it. The plier is good, but it is not a heavy-duty ratchet, and the single-use wedges add up when you are doing large jobs every week. This is a homeowner tool, and it is priced like one.
And if you are tiling with heavily warped tile, the 1/16 inch clips are not enough. You need the larger size that can pull a bigger gap. The DGSL system works best with tile that is reasonably flat to begin with. It fixes small imperfections, not big ones.
The kit I reach for every time I set tile
The DGSL Tile Leveling System includes 300 clips, 100 wedges, and the plier. It is the difference between a floor that looks DIY and a floor that looks professional.
Amazon Check Today's Price on Amazon →