
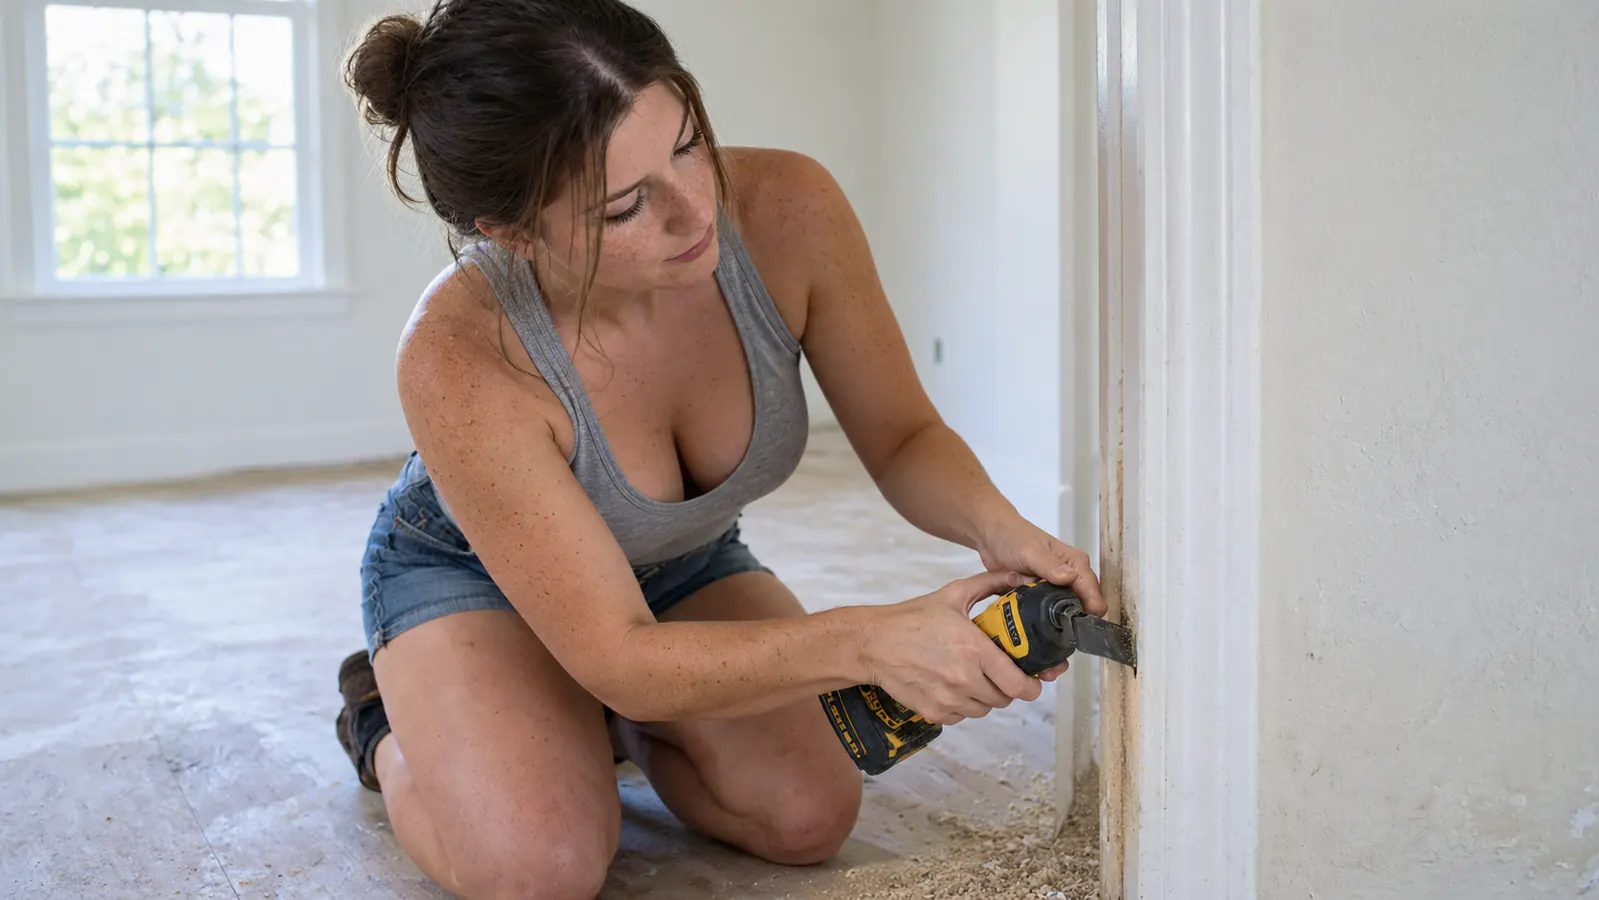
The moment that made me buy the DeWalt 20V MAX XR oscillating multi-tool was the moment I realized I had been cutting door jambs wrong for years. I was standing in my hallway with a handsaw, on my knees, trying to make a clean horizontal cut on a jamb that sat maybe half an inch off the subfloor. The saw kept binding. The cut kept drifting. And I knew, the way you know these things, that the new flooring was going to sit proud of the jamb and I was going to be staring at that gap every single day.
If you are about to lay new flooring, this is the job that separates a professional-looking result from a so-so one. Door jambs, casing, and baseboard returns all have to be undercut so the flooring can slide underneath. Get it right and the floor looks like it grew there. Get it wrong and you are either cutting the flooring around the jamb with a jigsaw, which never looks clean, or you are living with a gap you will notice forever. The good news is that the right tool makes this a twenty-minute job instead of a frustrating afternoon. Here is the exact process I use now, with the DeWalt multi-tool, in my own 1962 ranch.
The tool that finally made undercutting jambs easy
The DeWalt 20V MAX XR oscillating multi-tool with a flush-cut blade is the one I reach for every time. It cuts clean, it is comfortable to hold, and it has saved me from a lot of handsaw frustration.
Amazon Check Today's Price on Amazon →Step 1: Measure the flooring thickness before you touch the saw
The single most important number in this whole job is the thickness of the flooring you are about to install, plus the underlayment if you are using one. I have installed engineered hardwood, luxury vinyl plank, and tile in different rooms of my house, and every one of them needed a slightly different cut height. Measure the actual material you have in your hand, not the number on the box. Flooring can vary by a millimeter or two, and that is exactly the difference between a floor that slides under the jamb and one that scrapes against it.
For my living room floor, the planks measured 12 millimeters with the underlayment attached. I added about a millimeter of clearance so the floor could expand and contract with the seasons, which meant my target cut height was 13 millimeters. Write the number down. Tape a piece of painter's tape to the jamb at that height if it helps you see it. What you do not want is to cut the jamb too low, because then the flooring sits loose and the gap shows. Too high and the flooring will not slide under at all.
A scrap piece of the actual flooring is the best gauge you own. Hold it against the jamb and mark the top edge with a pencil. That line is your cut line. It takes thirty seconds and it removes all the guesswork. I keep a cutoff from every floor I install in my garage workshop for exactly this reason. When I did the hallway last spring, I marked all six jambs in about ten minutes, then double-checked each line with the scrap before I picked up the tool.
Step 2: Set the DeWalt multi-tool to the right speed
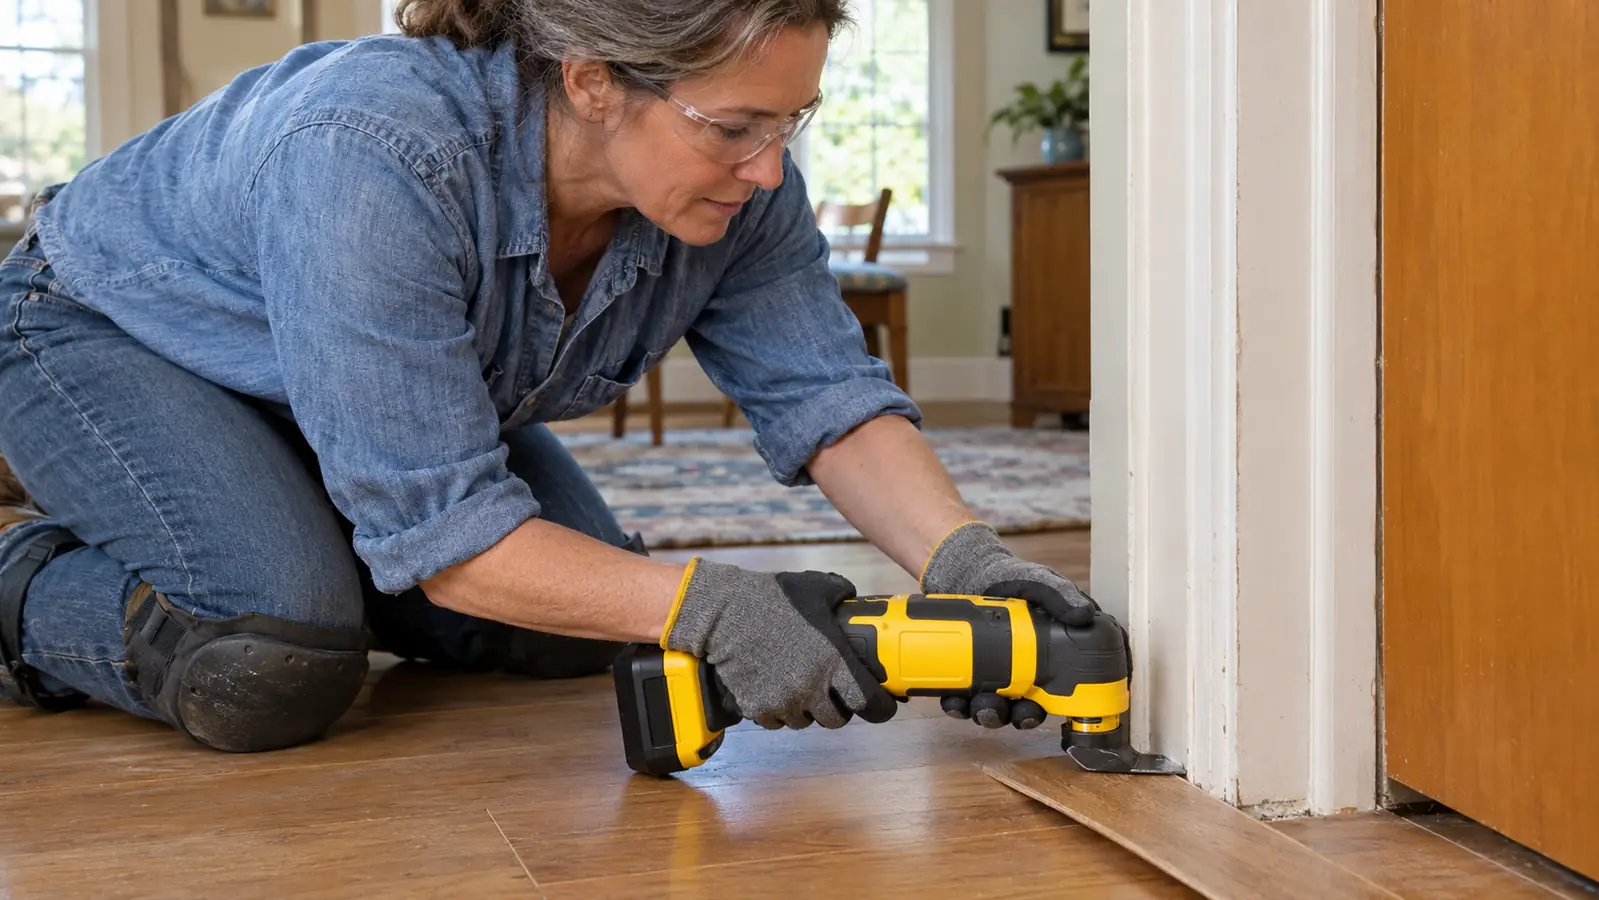
The DeWalt 20V MAX XR oscillating multi-tool has three speed settings, and this is where a lot of people go wrong. They grab the tool, set it to the highest speed, and start cutting. On a door jamb, that is how you burn the wood, dull the blade, and end up with a wavy cut. For soft wood jambs, I run the tool on the middle speed. For harder wood or anything with paint that might gum up the blade, I drop to the lowest speed and let the tool do the work.
The speed dial is on the top of the tool and it is easy to adjust mid-cut if you need to. I have found that a steady, moderate speed with light pressure gives the cleanest cut. The oscillating motion does the cutting. You are mostly guiding the tool and holding it flat. If you feel the tool pulling or the blade chattering, slow down. If the cut is taking forever and producing fine dust instead of chips, you are probably pressing too hard.
One thing I appreciate about this particular DeWalt model is the brushless motor. It keeps the speed consistent even when the blade is under load, which means the cut stays smooth from start to finish. My older corded multi-tool would bog down exactly when I needed it most. This one just keeps going. On the oak jamb in my bedroom, the middle speed cut through the wood in about twenty seconds without a single stall, and the cut edge came out smooth enough that I did not need to sand it.
Step 3: Use a flush-cut blade and hold the tool flat
The blade choice matters as much as the tool itself. For undercutting door jambs, you want a flush-cut or plunge-cut blade with the teeth on the end, not a segment blade with teeth around the edge. The flush-cut blade lets you hold the tool flat against the floor, with the blade horizontal, so the cut ends up perfectly level. The kit I bought came with a couple of blades, and I have since added a dedicated flush-cut blade that I keep just for jamb work.
Hold the tool so the base plate sits flat on the subfloor or on your scrap spacer. The blade should be parallel to the floor, with the teeth just above your pencil line. Start the tool, let it reach speed, and then ease the blade into the wood. Do not force it. The oscillating motion will pull the blade through the jamb at its own pace. When the blade breaks through the back edge of the jamb, you are done. The cut-off piece will drop away and you will have a clean slot for your flooring.
If you are cutting multiple jambs in the same room, cut them all before you lay any flooring. I learned this the hard way in my first bathroom remodel, when I realized halfway through the install that I had forgotten one side of a door casing. Stopping, dragging the tool back out, and undercutting a jamb with the new floor already down is miserable. Do all your undercutting in one pass while the room is still empty. In the hallway, that meant cutting the two sides of each of the three doorways in a single sitting, about forty minutes of work, before I opened a single box of planks.
Step 4: Protect the floor and manage the dust
Oscillating tools make dust. A lot of it. The DeWalt multi-tool has a dust port that you can hook up to a shop vacuum, and I strongly recommend doing that. I have a small shop vac in my garage workshop, and I keep the hose right next to me when I am cutting jambs. It keeps the dust out of your eyes and off the floor, and it means you are not sweeping sawdust out of every corner of the room before you lay the new flooring.
If you are cutting over a subfloor you plan to keep, lay down a piece of cardboard or a drop cloth under the cut. The base plate of the tool will rest on it, and it protects the subfloor from scratches. I also wear a dust mask and safety glasses. The fine dust from painted trim is not something you want to breathe, and the blade can throw small chips. The first time I used the tool without the vacuum attached, I spent twenty minutes cleaning fine dust off the baseboards and window sills before I could lay the floor. I never skipped the hose again.
One more tip: cut a piece of scrap flooring and use it as a spacer under the tool. Set the base plate on the scrap, and the blade will sit at exactly the right height above the subfloor. This is the trick that makes the cut come out at the same height on every jamb, even when you are moving fast. I do this on every single jamb now, and my cuts come out consistent every time. On the living room job, all six cuts matched within about a millimeter, and the planks slid under each one with the same easy fit.
Step 5: Test the fit and clean up the cut
Before you lay the flooring, test the fit on every jamb you cut. Slide a scrap piece of flooring under the jamb. It should move freely with just a little clearance, no scraping, no rocking. If it is tight, you can take a tiny bit more off with the multi-tool. If it is loose, you have cut too much, and the fix is a little wood filler or a shim behind the trim, which is a much smaller problem than a floor that will not fit.
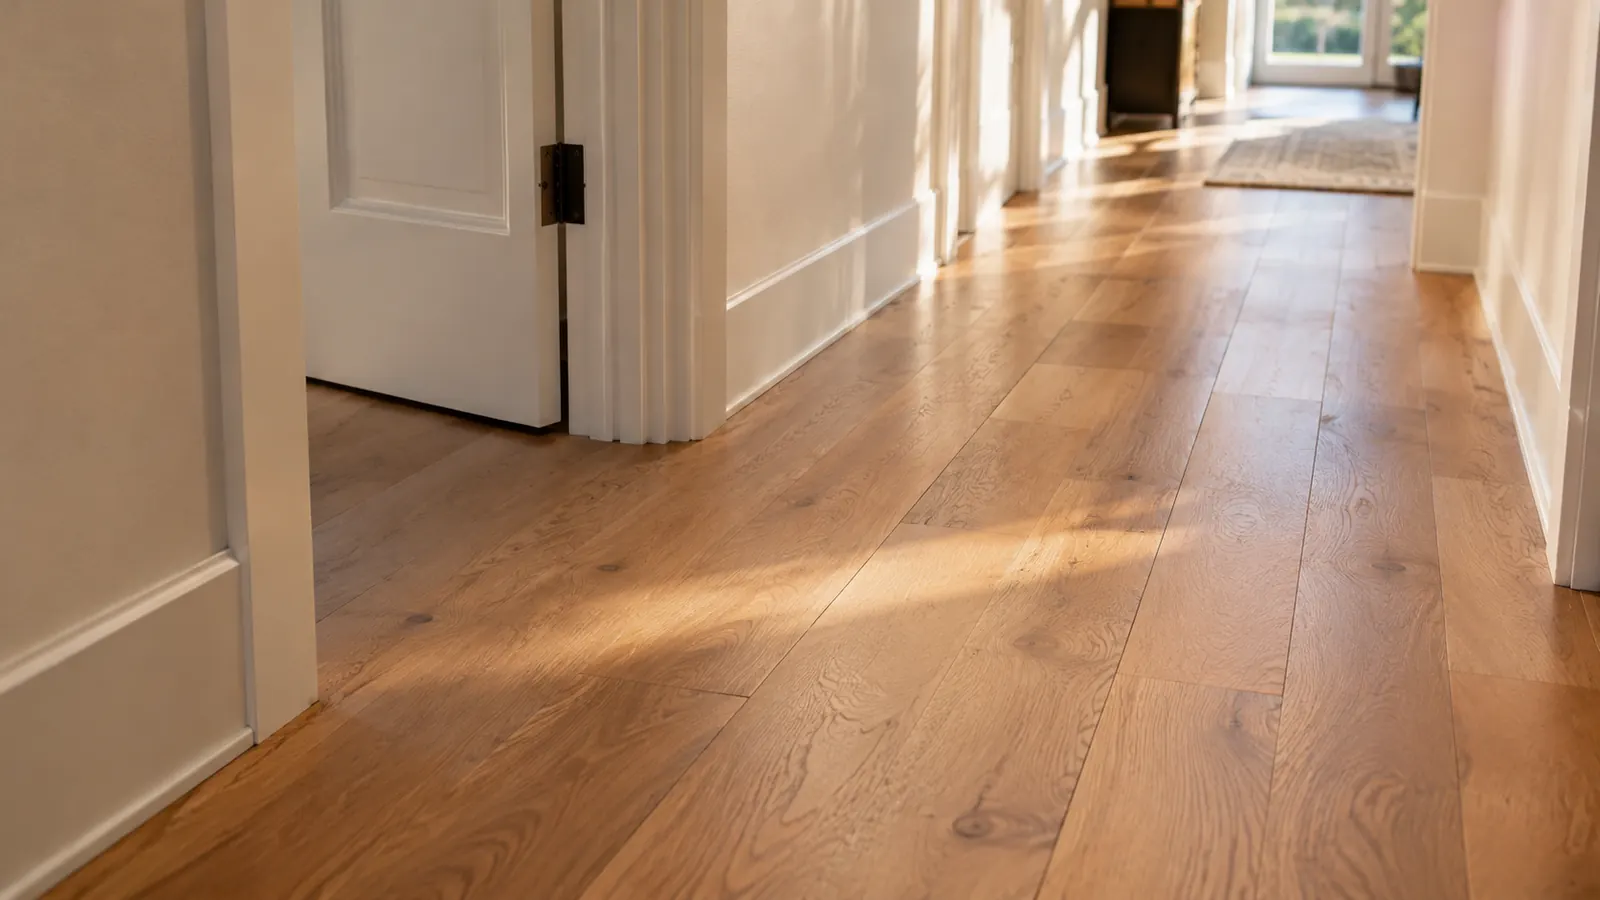
After the flooring is down, look at the cut from a standing position. The gap between the top of the flooring and the bottom of the jamb should be barely visible. If you can see a dark line, you can touch it up with a matching wood marker or a little caulk. On my living room floor, the cuts were clean enough that I did not need any touch-up at all, which is the result you are aiming for. On the hallway, one jamb needed a single pass with a wood marker where the paint had chipped at the corner, and that was it.
Clean the blade after the job. A quick wipe with a rag and a little mineral spirits removes the pitch and paint residue, and the blade will stay sharp for the next room. I keep my flush-cut blade in a labeled spot on my pegboard so I always know where it is. The DeWalt multi-tool has a tool-free blade change, so swapping blades takes about five seconds, which means there is no excuse for using the wrong blade for the job. I changed blades three times during the hallway work, once for the jambs, once for the casing returns, and once for a tight notch in a cabinet toe kick, and each swap took less time than finding a screwdriver in my workshop.
What Else Helps
The DeWalt multi-tool is the star of this job, but a few other things make it go smoothly. A good pencil and a small square for marking your cut lines. A sharp flush-cut blade, because a dull blade burns the wood and makes the cut rough. A shop vacuum with the hose adapter for the dust port. And a scrap piece of your actual flooring to use as a spacer and a test piece. None of these are expensive, and they all save you time on the day of the install.
If you are doing a whole house like I did, one room at a time, the multi-tool pays for itself quickly. I have used mine for undercutting jambs, cutting baseboard returns, trimming door casing, and even cutting a notch in a cabinet toe kick for a floor vent. It is the tool I reach for more than almost anything else in my garage workshop, and it has earned a permanent spot on my pegboard. My husband, who does the heavy lifting and not much else, has started borrowing it for his own small jobs, which is about the highest compliment he pays any tool in the house.
The first time I slid a plank under a jamb and it dropped into place with a clean, even gap, I actually said 'oh, that's how it's supposed to look' out loud to an empty room.
Make your next flooring project look like a pro did it
The DeWalt 20V MAX XR oscillating multi-tool is the tool I trust for undercutting jambs, trimming casing, and a dozen other finish jobs around the house. It is comfortable, powerful, and it has made my DIY work look noticeably better.
Amazon Check Today's Price on Amazon →