
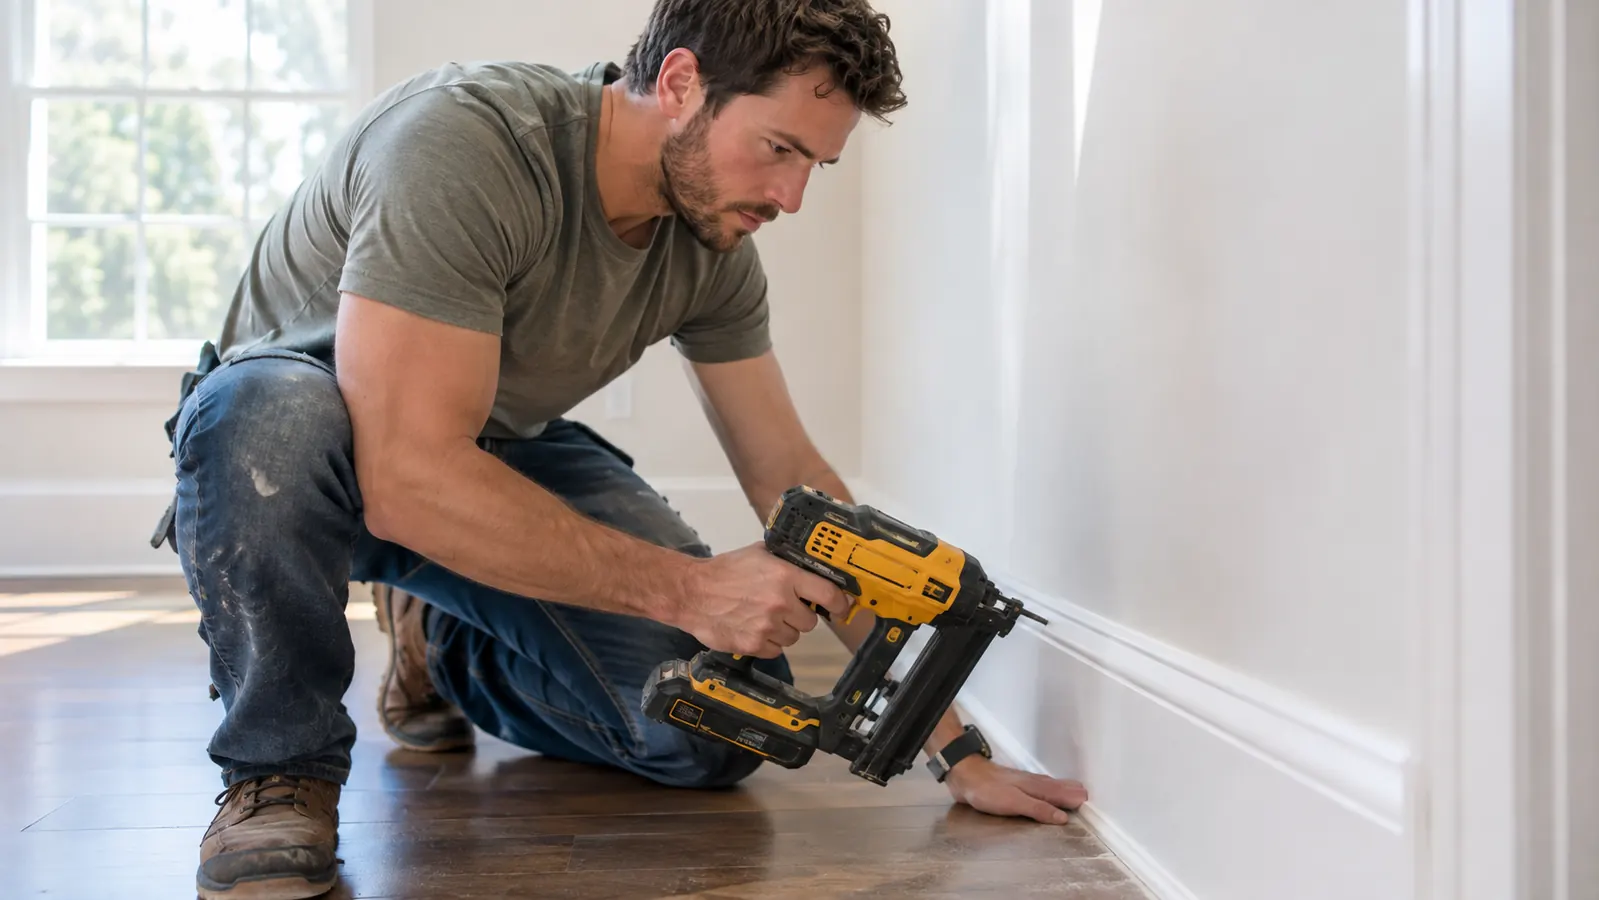
The first time I tried to install baseboard trim, I used a hammer and a lot of patience. The second time, I used a Craftsman V20 brad nailer, and I finished a 12-foot run of baseboard in about twenty minutes with no split wood and no bruised thumb. That is the whole story of this guide in one sentence: the right tool does not do the work for you, but it removes the part of the work that made you dread it.
I am Marlo Kessinger. I have spent the last 14 years remodeling my own 1962 ranch in Fresno, one room at a time on weekends, and I have installed baseboard in every single room of it. I have made the mistakes you are about to make, and I have also figured out the order of operations that makes trim work feel almost easy. This guide walks through the exact process I use, with the Craftsman V20 brad nailer as the tool that made me stop dreading trim day.
The nailer that made me stop dreading trim day
The Craftsman V20 brad nailer drives 18-gauge brads into oak, pine, and MDF without a compressor, and it has held up through every room in my house. Check today's price on Amazon and see if it fits your workshop.
Amazon Check Today's Price on Amazon →Step 1: Measure twice, cut once, and label everything
Before the nailer ever touches a board, the real work happens at the miter saw. I measure each wall section separately, because in a 1962 house no two walls are exactly the same length, and I cut each piece of baseboard to fit its own spot. I write the room and wall number on the back of every piece with a pencil before I move it, because once you have six identical-looking boards leaning against a wall, you will not remember which one was cut for the tricky corner.
For inside corners, I cope them rather than trying to make a perfect 45-degree miter meet in a house that has settled. Coping means cutting the first board square, then cutting the second board with a 45-degree angle and using a coping saw to follow the profile of the first board. It sounds fussy, but it is the difference between a corner that opens up in summer and a corner that looks like it was carved in place.
I also cut all my pieces a hair long, about 1/16 of an inch, and test fit them before nailing. A board that is slightly long can be coaxed into place with a little pressure. A board that is slightly short is firewood. This is the step where the Craftsman V20 earns its keep, because the nailer is light enough to hold in one hand while you use the other to press the board tight against the wall and the floor.
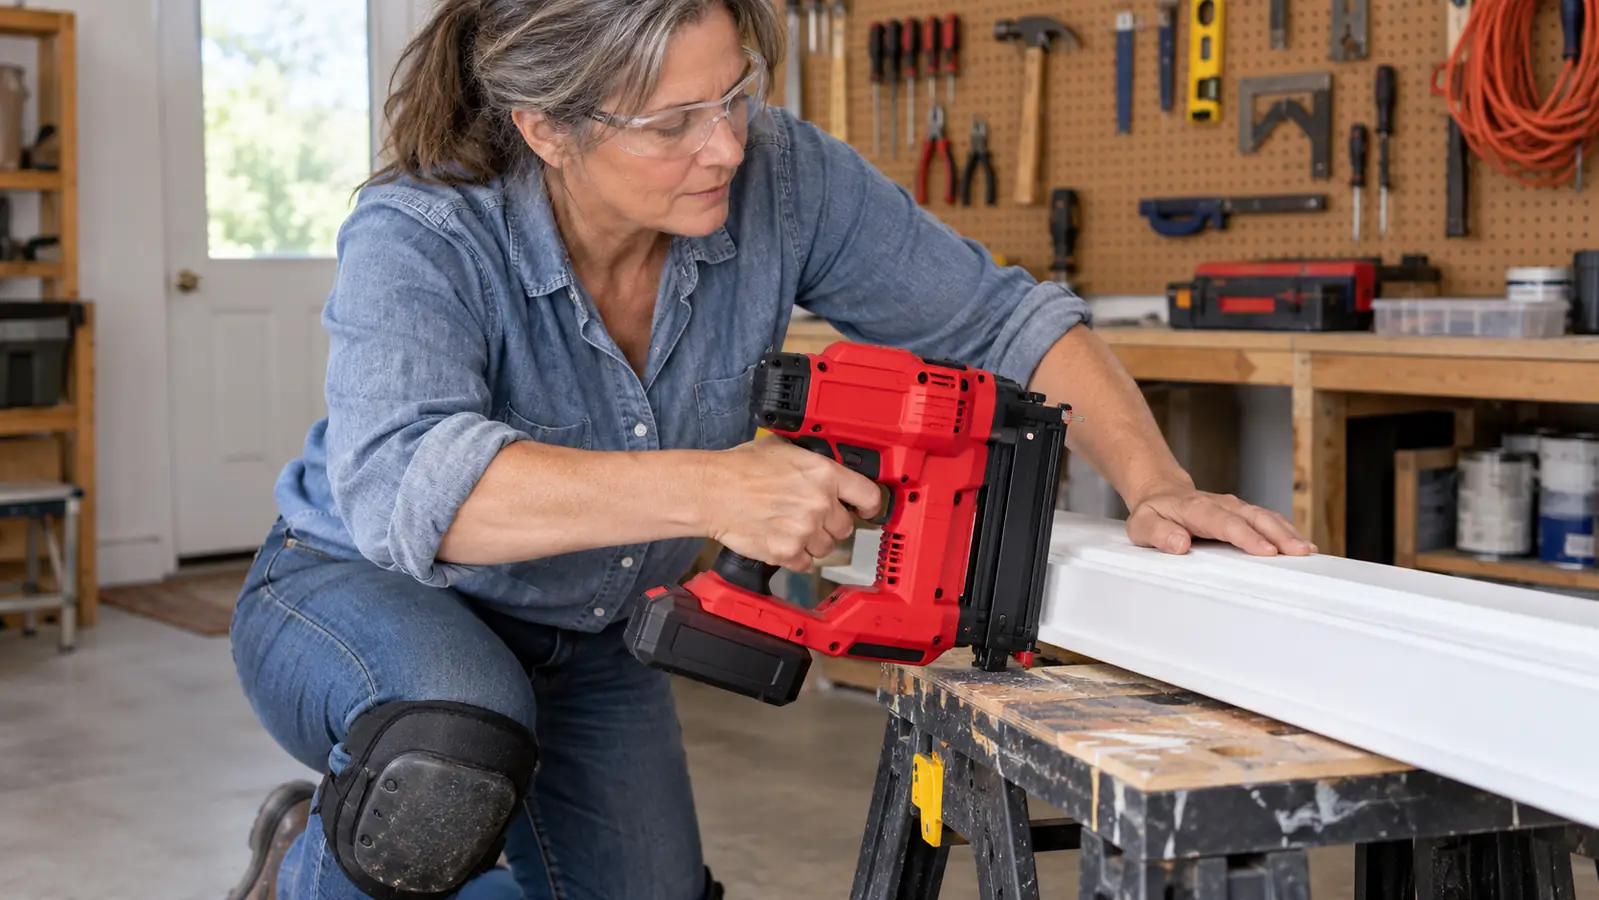
Step 2: Set the depth and test on scrap
The Craftsman V20 brad nailer has a depth adjustment wheel near the nose, and I adjust it every single time I switch between materials. MDF is soft, so the brad sinks deep with very little pressure. Oak is hard, so the same setting that worked on MDF leaves the brad head sitting proud of the surface. I keep a scrap piece of the exact material I am about to nail and I fire two or three test brads into it before I start on real trim.
The goal is to set the brad just below the surface, about 1/16 of an inch, so the hole can be filled with wood putty and disappear after painting. If the brad is too deep, you create a divot that is hard to fill cleanly. If it is not deep enough, the head catches the light and you see every single fastener in the room. The depth wheel is the most used control on this nailer, and once you learn to set it by feel, you will never go back to guessing.
I also use the dry-fire lockout on the Craftsman V20 as a feature, not an annoyance. When the magazine is empty, the nailer refuses to fire, which means I never drive a brad into a board and discover there was nothing in the magazine. I keep a box of 18-gauge brads on the work table and I reload the moment the lockout engages, before I pick up the next board.
Step 3: Nail the top edge first, then the bottom
Baseboard needs to be held tight against both the wall and the floor, and the order of nailing matters more than most people think. I start at the top edge, placing a brad every 12 to 16 inches, and I work from one end of the board to the other. Nailing the top first lets me pull the board down against the floor as I go, so there is no gap between the baseboard and the flooring.
Then I go back and add brads along the bottom edge, spacing them to match the top row. The bottom row is what holds the board tight to the floor, and it is also the row that hides the fasteners best, because the eye naturally reads the top of the baseboard first. I angle the bottom brads slightly downward, about 10 degrees, so they bite into the subfloor and pull the board down even harder.
The Craftsman V20 fires brads up to 2 inches long, which is plenty for standard 1/2-inch baseboard over drywall into studs. I use 2-inch brads for the top row so they reach the studs, and 1-1/4-inch brads for the bottom row so they grab the subfloor without poking through the other side of a thin baseboard. Matching the fastener to the job is half of getting a professional result.
Corners are where most of the time goes. For inside corners I cope the second piece instead of mitering both, because walls in an older house are rarely a true 90 degrees and a coped joint hides that. Outside corners get a miter, and I put a little wood glue on the joint and pin it with a brad from each side using the CRAFTSMAN. Those two small nails hold the miter tight while the glue dries, and the corner stays closed through seasons of humidity changes.
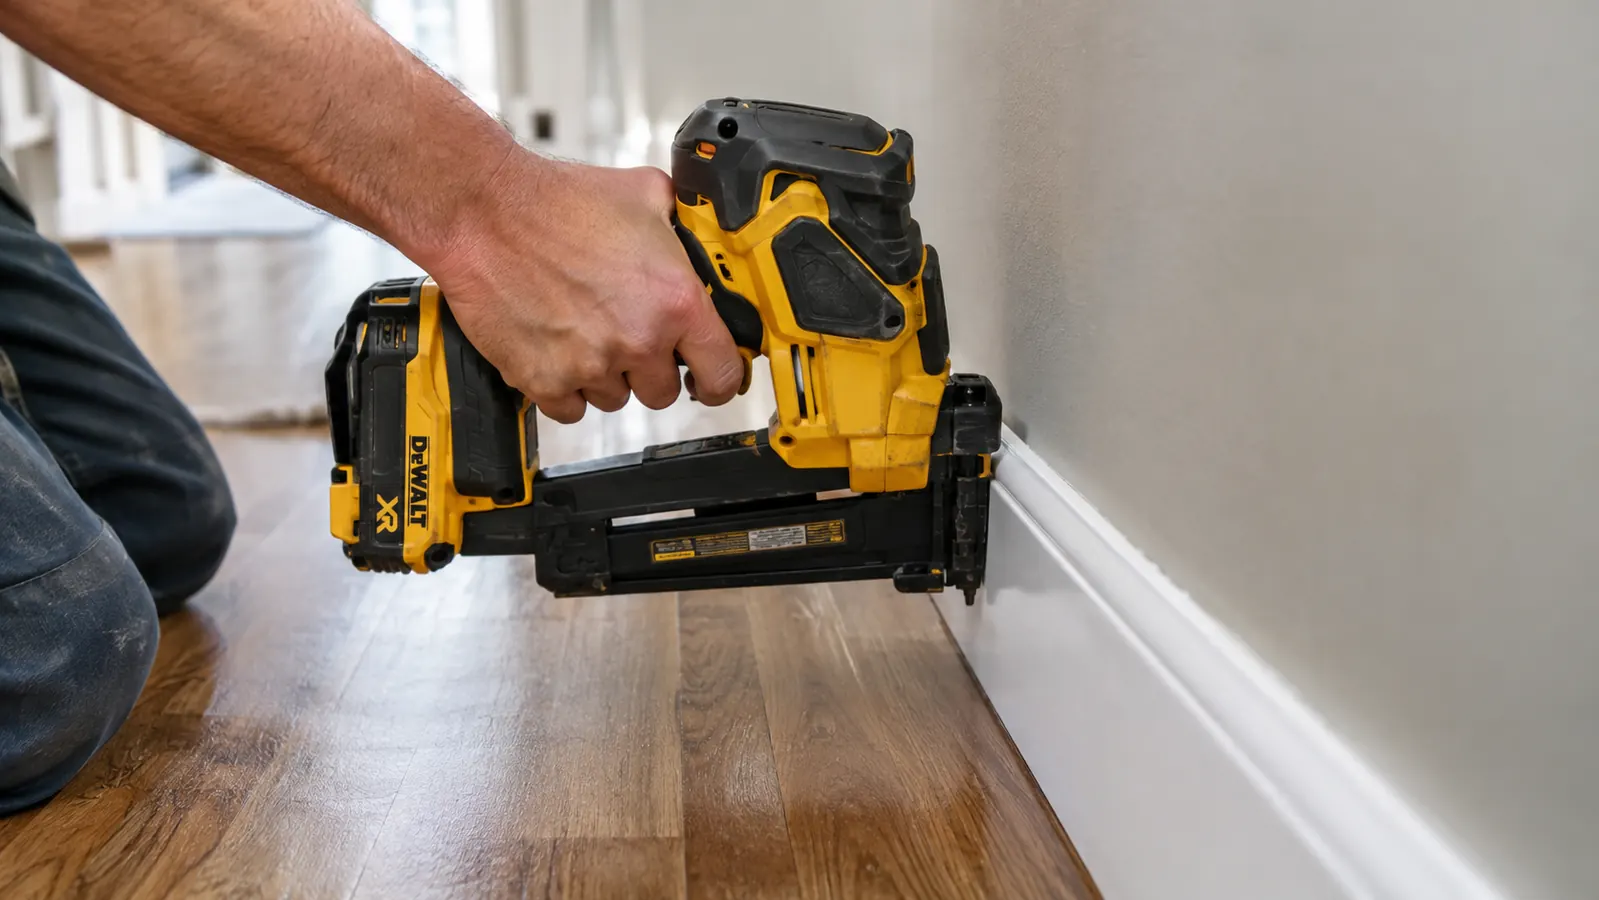
Step 4: Fill, sand, and caulk before you paint
When the nailing is done, the trim still looks like a construction site. I fill every brad hole with a small dab of wood putty, pressing it in with my finger and wiping the excess off with a damp cloth. I use a paintable latex caulk along the top edge where the baseboard meets the wall, because walls are never perfectly straight and caulk is the only thing that makes that joint disappear.
I let the putty dry completely, then sand it with 220-grit paper wrapped around a small block. The trick is to sand the putty flush with the surrounding wood, not to sand the wood itself, because sanding through the primer will show up as a dull patch under paint. I wipe the dust off with a tack cloth and then I prime the entire baseboard before the final paint color goes on.
This is the step where the Craftsman V20 saves you the most time, because a brad nailer leaves such a small hole that filling and sanding takes minutes instead of the hour you would spend patching hammer dents and split wood. I have installed baseboard with a hammer and finishing nails, and I have installed it with this nailer. The difference in finishing time is the difference between a weekend project and a week-long project.
Step 5: Work in sections and keep the nailer charged
I do not try to trim an entire room in one sitting. I work in sections, usually one wall at a time, and I stop at a natural break like a door casing or an outside corner. This keeps the work manageable and it means I can step back and look at each section before I move on. A mistake on one wall is easy to fix. A mistake that repeats across four walls is a whole weekend of rework.
The Craftsman V20 runs on the same V20 battery platform as the rest of my Craftsman tools, so I keep a spare battery on the charger in the garage and I swap it when the nailer starts to sound sluggish. A full battery will drive hundreds of brads, more than enough for a typical room, but the nailer slows down noticeably as the battery drains, and the first sign is brads that do not seat all the way. Swapping the battery takes ten seconds and saves a lot of frustration.
I also keep the nose of the nailer clean. Brad nailers pick up dust and debris from the work site, and a dirty nose can cause jams or misfires. I blow it out with compressed air at the end of every project and I oil the mechanism lightly a couple of times a year. The Craftsman V20 has been reliable for me through the entire house, and I credit most of that to thirty seconds of cleaning after each use.
Finally, keep the battery charged and an extra pack of brads within reach. Nothing slows down a trim job like running out of nails halfway along a wall. I load the magazine full at the start of each room so I am not stopping in the middle of a long run of baseboard.
What Else Helps
A brad nailer is the centerpiece of a trim job, but it is not the whole story. I use a few other tools on every baseboard project: a good miter saw with a fine-tooth blade for clean cuts, a coping saw for inside corners, a stud finder so I know where to place the top-row brads, and a small level to check that long runs of baseboard are sitting flat. I also keep a pry bar and a block of wood nearby, because even with careful measuring, you will occasionally need to pull a board and recut it.
The other thing that helps is a second pair of hands. My husband does the heavy lifting and holds the long boards steady while I nail, and that division of labor has saved us from more split miters than I can count. If you are working alone, use a couple of spring clamps to hold the board in place while you position the nailer. It is slower, but it is safer and the results are the same.
The difference between a hammer and the Craftsman V20 is the difference between a weekend project and a week-long project.
Ready to trim your first room?
The Craftsman V20 brad nailer is the tool I reach for on every trim project, and it is the one I recommend to friends who are starting their first baseboard job. Check today's price on Amazon and see why it made my whole house feel finished.
Amazon Check Today's Price on Amazon →