
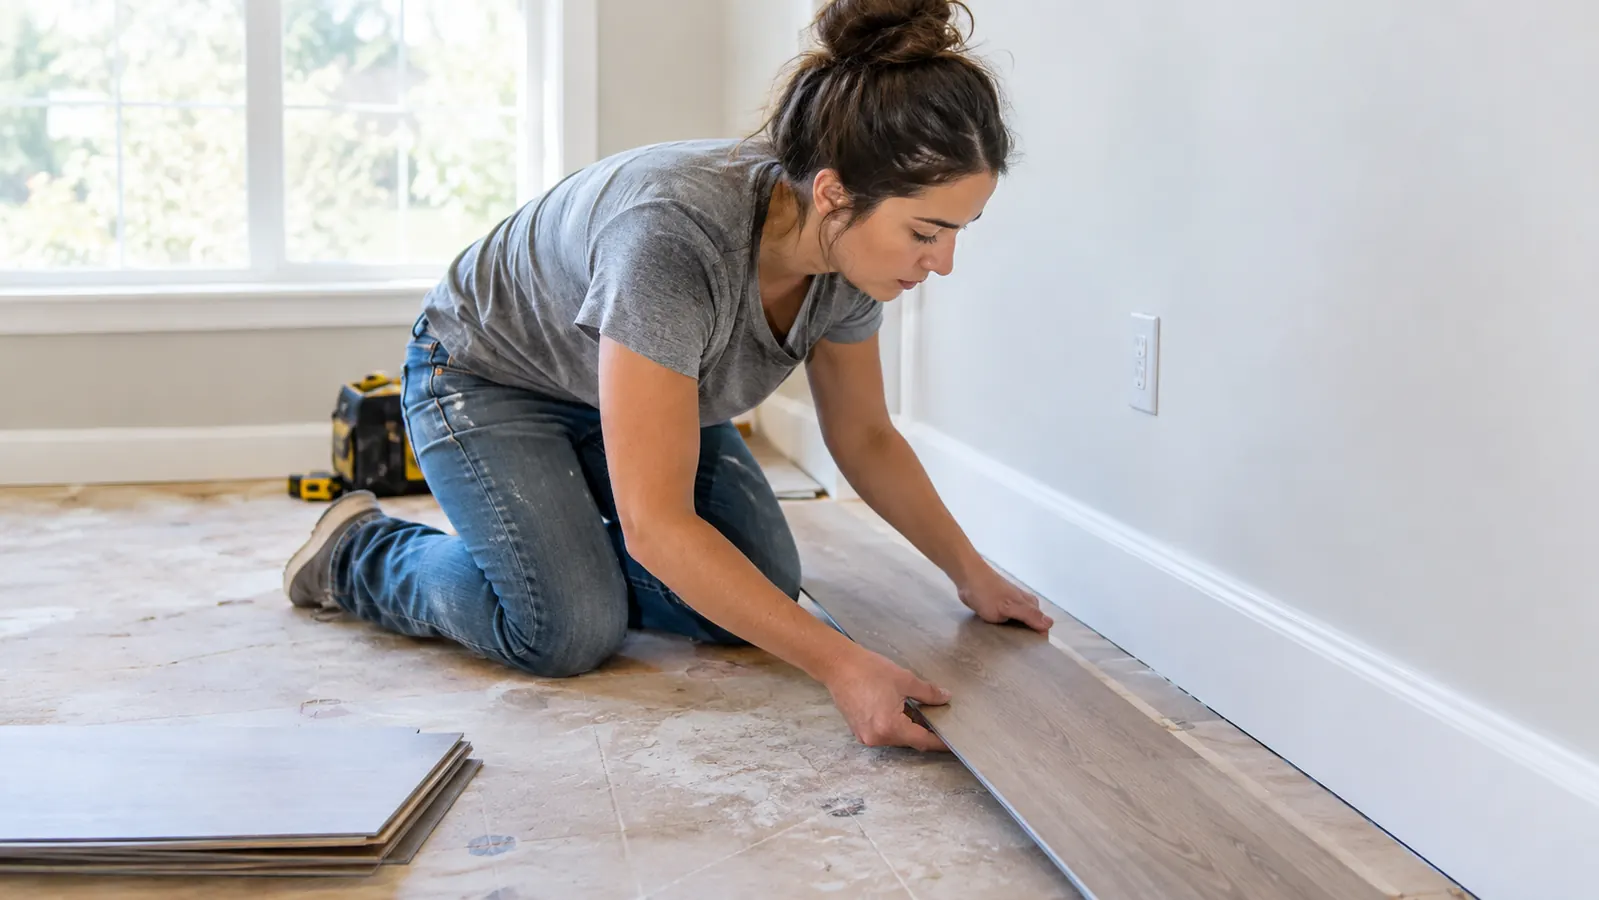
The first time I installed vinyl plank flooring, I used a rubber mallet I found in the garage and a scrap piece of wood as a tapping block. The planks looked fine from across the room. Up close, you could see the gaps. A year later, one seam had started to curl where the kitchen meets the hallway. That was the project that taught me the difference between flooring that goes down and flooring that goes down right.
When I redid the living areas in my 1962 ranch, I finally bought a real flooring kit. The WORKPRO 65-piece Laminate Flooring Tools set is the one I reached for, and it changed how the job felt as much as how it looked. This guide walks through the exact process I used, room by room, with the tools that earned their place in my converted garage workshop.
Start your next flooring project with the right tools the first time
The WORKPRO 65-piece kit covers cutting, spacing, tapping, and pulling planks into place, so you are not improvising with scrap wood and a hammer. Check today's price on Amazon and see what is included before you clear the room.
Amazon Check Today's Price on Amazon →Step 1: Measure the room and order extra
Before any tool comes out of the box, measure the room in feet and multiply length by width. That gives you the square footage. Add 10 percent for waste, cuts, and mistakes. For a 12 by 14 foot room, that is 168 square feet, so I order about 185 square feet of flooring. It is better to return a sealed box than to run out on a Saturday afternoon, which is exactly what happened to me on the hallway project. I measured the length and the width of that hallway and multiplied, but I forgot to account for the linen closet that juts out about two feet and the bathroom doorway that angles slightly. I ran short by seven planks, and the replacement box came from a different dye lot. The difference was visible in the sunlight that hits the west end of the hall in the afternoon, so I had to mix the two lots across the whole run to hide it. Now I measure every wall, every doorway, every offset, and I add 10 percent on top of the total.
This is also the moment to check the subfloor. Vinyl plank needs a surface that is clean, dry, and reasonably flat. I patched low spots with floor leveler and sanded down any high spots. The WORKPRO kit does not include a leveler or a straightedge, so I used a 4-foot level I already owned. Do not skip this step. Every imperfection in the subfloor shows up on the surface of vinyl plank. It is also worth checking for squeaks and loose areas while the room is empty, because once the floor is down, you will not get another chance to fix them.
While the room is empty, lay the planks out in the room for 48 hours if the manufacturer recommends it. Acclimation matters more with vinyl than most people think. I let mine sit in the room, still in the boxes, while I finished the prep work. In the hallway, the boxes sat in the living room for two full days because the hallway itself was too narrow to hold them all, and the planks still came out flat and stable once they were down.
Step 2: Prep the subfloor and lay underlayment
Sweep, vacuum, and wipe down the subfloor. I use a shop vacuum with a hard floor attachment, then go over the surface with a damp mop and let it dry completely. Any grit left behind will feel like sandpaper under the planks and can cause the locking seams to wear over time. This is the step that cost me a Saturday afternoon in the living room. Last spring, I swept and vacuumed that subfloor, ran my hand over the surface, and felt nothing. But the previous owners had painted the room years earlier, and a fine layer of drywall dust had settled into the corners near the baseboards. I did not notice it until the second row went down and I felt a faint crunch under one plank. I pulled up the first two rows, vacuumed the locking channels, and started over.
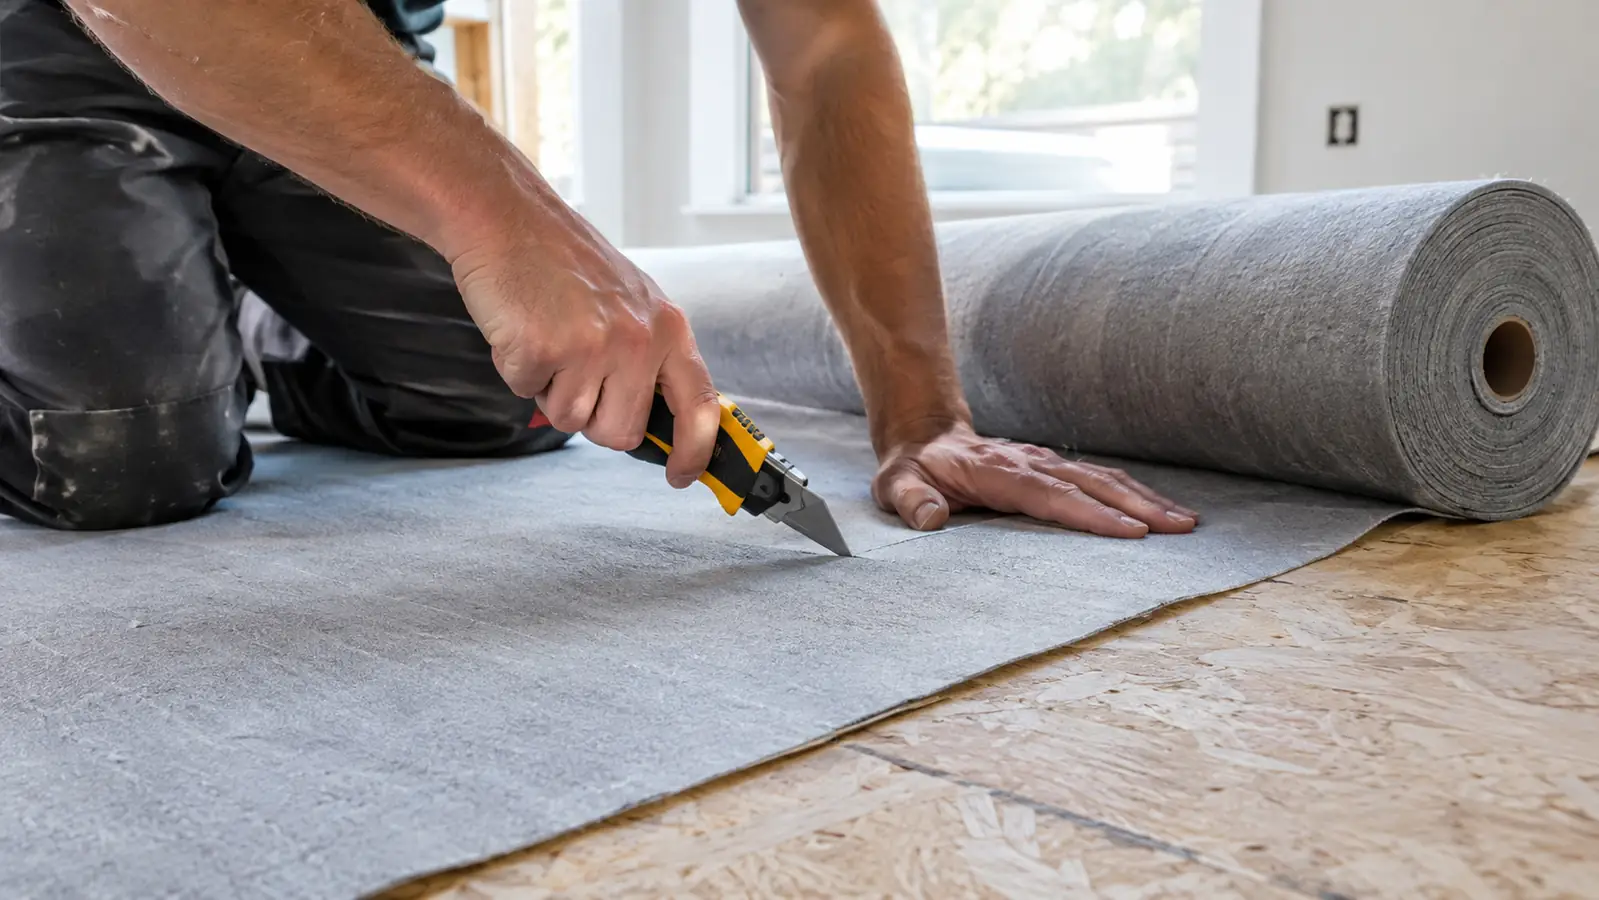
If your flooring calls for underlayment, roll it out in strips, butting the edges together without overlapping. I use a utility knife from the WORKPRO kit to trim it to the walls. The kit includes a spare blade, which is handy because a dull blade drags and tears the underlayment instead of cutting it. I learned to cut the strips about six inches longer than the room, lay them down, and trim the excess against the wall with the knife, which gives a cleaner edge than trying to precut everything in the garage.
Some vinyl plank products have the underlayment attached to the back. If yours does, skip this step entirely. Check the manufacturer instructions before you add anything. Adding underlayment under a product that does not need it can make the floor feel spongy and can void the warranty. The flooring I used in the kitchen had the pad attached, so I skipped the underlayment there and only used it in the living areas where the product called for it. Reading that one page of the instructions saved me from a floor that felt like a trampoline.
Step 3: Plan your layout and start the first row
Find the straightest wall in the room and measure out from it at both ends. If the measurements match, start there. If they do not, snap a chalk line so your first row is straight. The first row sets the tone for the whole room. If it is crooked, every row after it will be crooked too.
Leave an expansion gap around the perimeter. Vinyl plank expands and contracts with temperature changes, so the gap is not optional. I use the spacers from the WORKPRO kit along the wall and at the ends of each row. The kit includes enough spacers to work a full room, and they stay put while you tap the planks together.
Cut the first plank to size if the wall is not square. I measure the gap at the wall, transfer it to the plank, and score it with the utility knife. For a straight cut, score the surface several times and snap the plank. For a cut that follows an uneven wall, use the scissors included in the kit. They cut vinyl plank cleanly without crushing the locking edge.
Step 4: Tap, pull, and lock each row
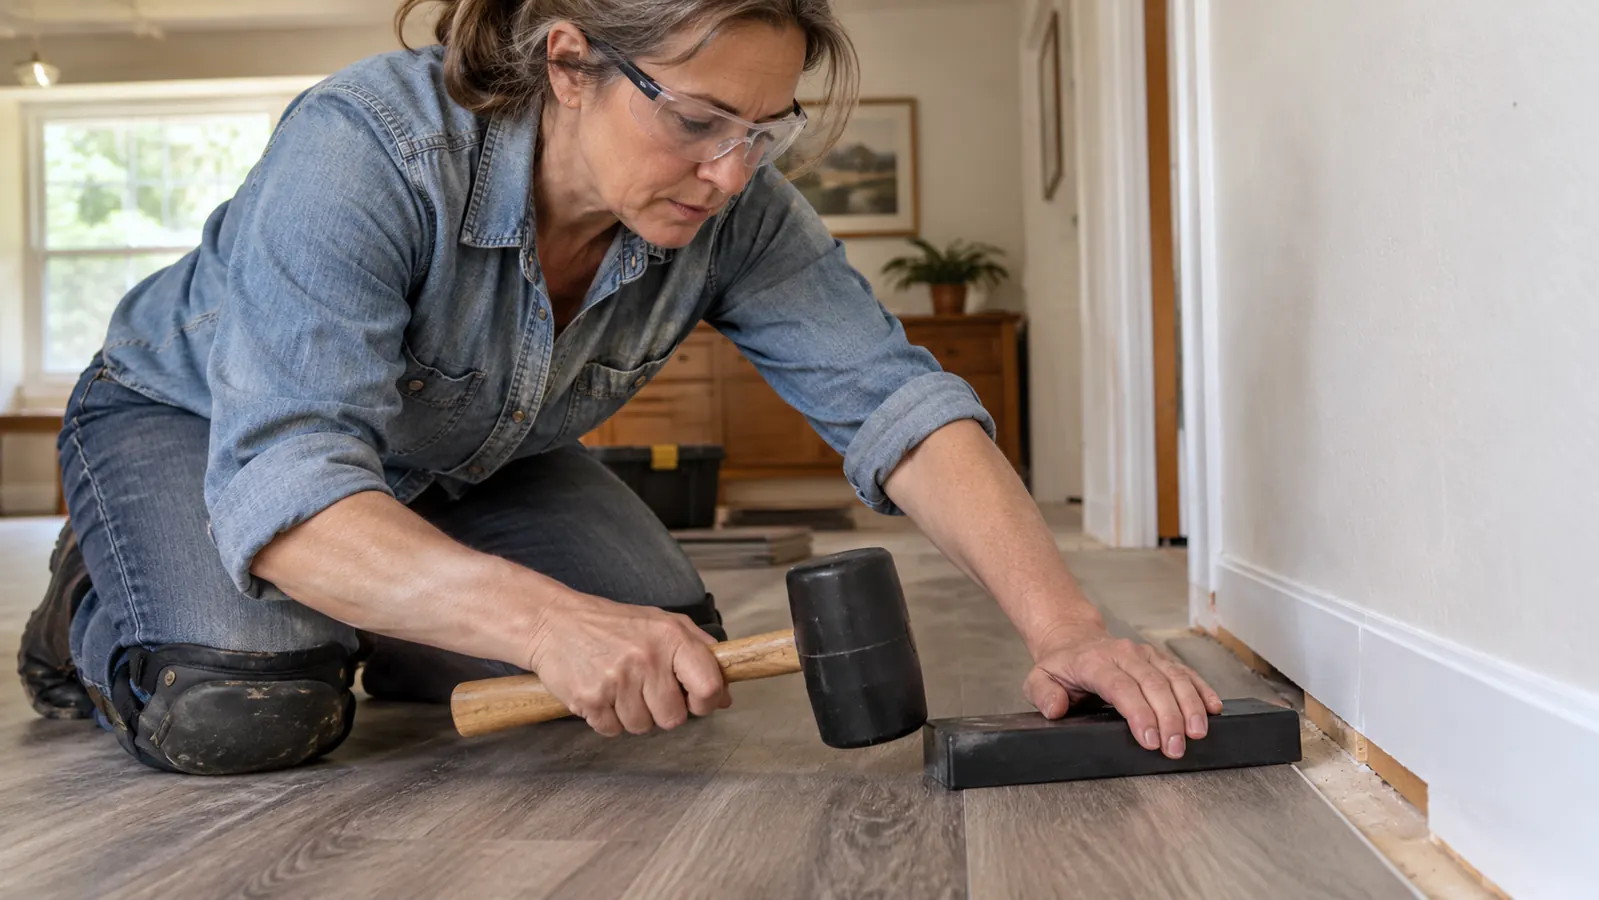
This is where the WORKPRO kit earns its place in my workshop. The tapping block fits against the end of the plank, and the mallet delivers a firm, controlled strike. The block spreads the force across the whole edge, so the locking seam clicks together without damage. The dining area was the first room I ever did, and I used a 2x4 offcut as a tapping block because I did not know any better. It worked for about three rows, and then it split right down the grain. I caught the edge of a plank with the mallet and dented the locking groove. The plank still clicked in, but the surface had a small ding that caught the light from the pendant lamp over the table. I lived with it for a year before I swapped out that single plank during a repaint. With the WORKPRO tapping block, the face is wide and flat, so every strike lands evenly and the block does not slide off the edge of the plank. That sounds like a small thing until you are on your knees for the fourth hour and every strike has to count.
For the long seams, use the pull bar. It hooks under the edge of the plank and lets you pull the row tight against the previous row, even when you are working close to a wall. The pull bar is the tool that separates a professional-looking floor from a DIY floor. Without it, the last few rows in a room tend to have gaps that never quite close. The pull bar was the tool I did not know I needed until I tried to lock the fifth row in the dining area by hand and ended up with a gap I could see from across the room.
Work in a staggered pattern. I start each row with a plank cut to a different length, usually about a third or two thirds of a full plank. This staggers the seams and makes the floor stronger and better looking. The kit includes a measuring tape, so I do not have to hunt for one while I am on my knees. The mallet has a nice weight to it too, heavy enough to seat a seam without making your wrist ache by the end of a long day.
Step 5: Finish the edges and install transitions
The last row almost never fits as a full plank. Measure the remaining gap, subtract the expansion gap, and rip the plank to width. Score it repeatedly with the utility knife and snap it, or use the scissors for a cleaner edge. Then use the pull bar to lock it into place. This is the row that makes people ask whether you hired someone. In the dining area, the last row was barely two inches wide at the far end because the wall was not square, and the scissors saved me from a wavy cut that the knife would have made.
Install transition strips at doorways and where the flooring meets another surface. The kit does not include transition strips, so I bought mine separately to match the flooring. The transition between the living room and the entry was the hardest part of the whole project. The previous owners had tiled the entry, and I left that tile in place when I refloored the rest of the house, so the two surfaces meet at slightly different heights. A standard transition strip would have looked wrong. I bought a reducer profile and spent an afternoon cutting it to follow the slight curve of the doorway. I clamped the strip to my folding work table, scored it with the utility knife from the kit, and snapped it in small increments instead of trying to cut the whole piece at once. The first try, I cut the angle wrong and had to start over with a fresh piece.
Walk the room after the transitions are in. I run my hand over every seam and look for gaps, lippage, or loose edges. The WORKPRO kit includes a spare blade and a few extra pieces, so I keep the utility knife and scissors out until I have inspected the whole floor. Fixing a seam right after installation is much easier than fixing it a year later. It is the kind of detail nobody notices unless it is done badly, and mine came out clean on the second try.
What Else Helps
A few things made the job easier that are not in the kit. A knee pad saved my knees during the long runs. A laser level helped me keep the first row straight in a room where the walls were not square. And a shop vacuum with a crevice tool kept the locking channels clean as I worked. None of these are required, but they all made the finish better.
The WORKPRO kit is a solid starting point because it includes the essentials: a tapping block, a pull bar, spacers, a utility knife, scissors, a measuring tape, and a mallet. For a DIY homeowner, that is the difference between improvising and having the right tool in your hand. I still use the pull bar and tapping block on every flooring project, and they have held up through several rooms.
The pull bar is the tool that separates a professional-looking floor from a DIY floor. Without it, the last few rows in a room tend to have gaps that never quite close.
Get the WORKPRO kit before you clear the room
If you are planning a vinyl plank project, the WORKPRO 65-piece kit gives you the tools to do it right the first time. Check today's price on Amazon and see what is included before you start.
Amazon Check Today's Price on Amazon →