

The first time I hung a wall cabinet, I used a four-foot level, a tape measure, and a lot of hope. The cabinet went up straight, but the gap between it and the next one was off by a quarter inch, and I only noticed after the second cabinet was screwed in. My husband still brings it up. That was the day I decided that if I was going to keep remodeling this 1962 ranch room by room, I needed a better way to transfer a level line across a wall. The DeWalt DW088K self-leveling cross-line laser is the tool I reached for, and it has changed how I do almost every layout task in the house.
This is not a review from someone who tests lasers in a lab. I am a 56-year-old former interior design assistant who has spent the last 14 years remodeling her own house, one weekend at a time. My workshop is a one-car garage with a folding work table, a sawhorse setup, and a pegboard wall. I hang cabinets, install shelving, set tile, and run trim. The DW088K is the laser I have used for all of it, and this guide is the process I wish someone had walked me through before I started.
Skip the shims-and-pray method. Get a level line you can actually see.
The DeWalt DW088K projects a bright red cross line that stays level even if the tool is slightly tilted, so you can mark a full wall in minutes instead of chasing a bubble level across the room.
Amazon Check Today's Price on Amazon →Step 1: Set Up the Laser on a Stable Surface
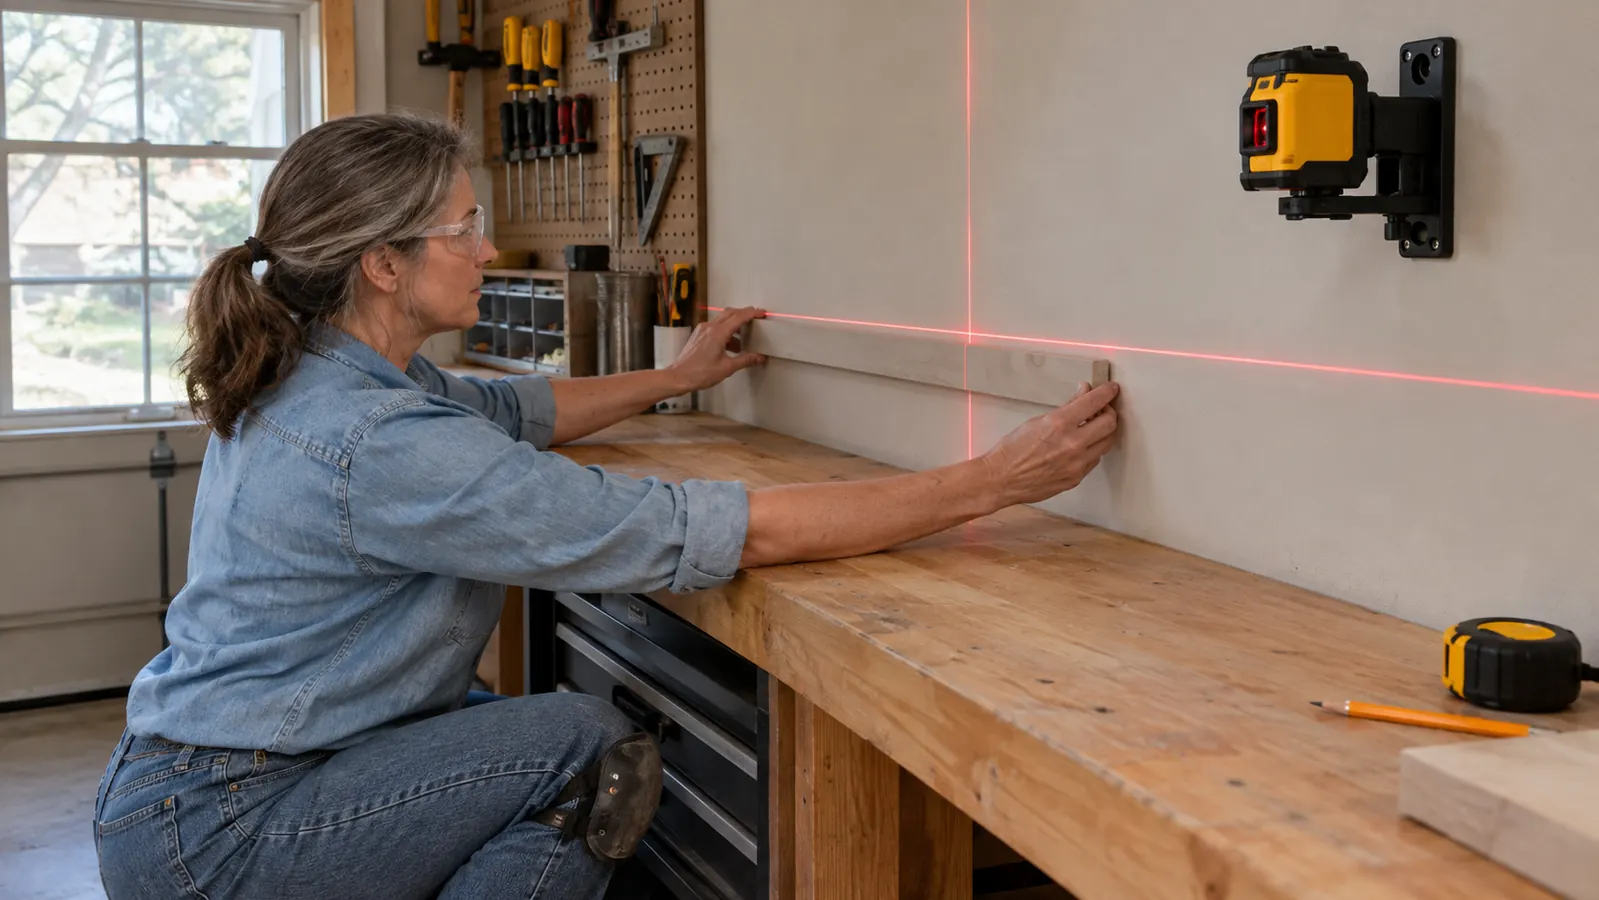
The DW088K has a pivoting base with a 1/4-inch thread, which means you can mount it on a tripod, a camera clamp, or the included wall bracket. For cabinet work, I almost always use the wall bracket. It lets me position the laser at the exact height where the bottom of the cabinets will sit, which is the line I actually need to transfer. On the kitchen wall, that height was 54 inches off the floor, measured at both ends before I touched the bracket.
Before you switch the laser on, make sure the surface is stable. A laser that is vibrating on a wobbly ladder will give you a line that looks level but is not. I learned this the hard way when I set the DW088K on a folding table that had a slight rock to it. The line was off by about an eighth of an inch across a twelve-foot wall. That is the difference between a cabinet run that looks intentional and one that looks slightly off. I caught it because I checked the beam against a mark I had made with a bubble level, and the two did not agree.
If you are working alone, the wall bracket is your best friend. It takes about thirty seconds to install, and it frees up both hands for marking. If you are working with a helper, a tripod is fine, but you will still want to lock the head in place once the laser has self-leveled. On the day I hung the upper cabinets in the kitchen, my husband held the tripod while I marked, and the setup took us less than five minutes from unboxing to first mark.
Step 2: Let the Laser Self-Level and Lock
The DW088K is a self-leveling laser, which means it uses an internal pendulum to find true level within a few seconds of being switched on. You will hear a small click when it locks into place. That click is your signal that the line is accurate, and it is worth waiting for every time. The first time I used it, I was so eager to start marking that I ignored the click, and the line was off by a hair. Waiting the extra three seconds fixed it.
If the laser cannot self-level because it is tilted too far, the beam will blink. That blinking is not a malfunction. It is the tool telling you that it is out of its leveling range, which is about four degrees. When I see the blink, I adjust the base rather than trying to work with a line that is not true. It takes ten seconds and saves me from marking a wall that is slightly off. On a shelf project in the living room, the blink saved me from mounting a bracket a quarter inch low on one side.
One thing I appreciate about the DW088K is that it does not have a manual mode that lets you lock the pendulum for angled lines. Some people see that as a limitation. For cabinet work, I see it as a feature. It means the laser will never let me accidentally mark a line that is not level, which is exactly what I want when I am hanging cabinets that will hold dishes and glassware. If I need an angled line, I use a bevel gauge and a straightedge instead.
Step 3: Position the Line at the Exact Height You Need
For upper cabinets, the line I need is the bottom of the cabinet run. I measure up from the floor at both ends of the wall, make a small mark, and then adjust the laser bracket until the beam hits both marks. The DW088K projects a horizontal line that is bright enough to see in a room with normal lighting, which means I can work without turning off every light in the house. In the kitchen, I set the line at 54 inches and checked it against a laser level app on my phone just to be sure.
The vertical line is just as useful. When I am hanging a row of cabinets, I use the vertical beam to keep the cabinet faces aligned with each other. I line up the edge of the first cabinet with the vertical line, and then I use the same line to check the second and third cabinets as I go. It is a simple trick, but it is the difference between a run that looks straight and one that has a subtle zigzag. On my kitchen run of three cabinets, the faces lined up within a sixteenth of an inch.
If you are hanging cabinets on two adjacent walls, the cross-line feature is worth the upgrade over a single-line laser. You can set the laser in the corner and get a level line on both walls at the same time. That is how I laid out the corner cabinet in my kitchen remodel, and it saved me a full afternoon of measuring and remeasuring. I set the laser in the corner, marked both walls, and the corner cabinet went in without a single shim on the back edge.
Step 4: Mark the Wall, Then Hang the Cabinet
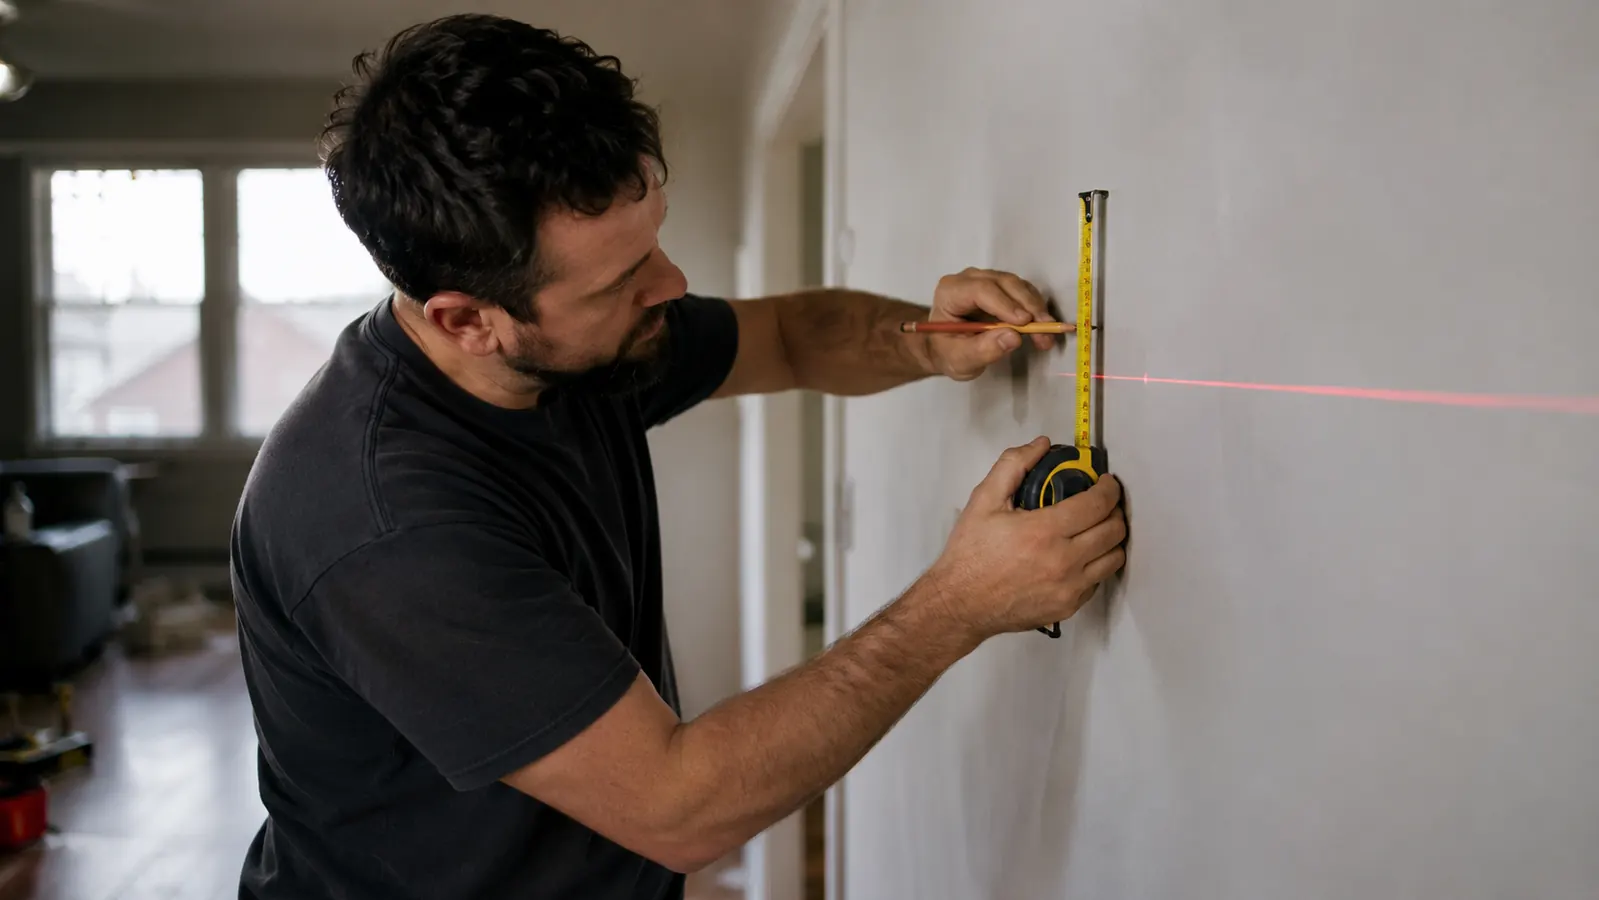
Once the laser is locked and positioned, I trace the beam with a pencil every twelve to eighteen inches along the wall. I do not need a continuous line. I just need enough marks to know where the bottom of the cabinet should sit. Then I find the studs with a stud finder and mark those locations along the same horizontal line. On the kitchen wall, that meant six marks for the three-cabinet run, and each one lined up with the beam.
The reason this works so well is that the laser line is a reference, not a promise. The cabinet still needs to be shimmed and checked with a level, but the laser gives me a target that is accurate across the entire wall. When I hang the first cabinet, I set its bottom edge on the marks, check it with a short level, and screw it in. Then I hang the next cabinet the same way, using the laser line to keep the bottoms aligned. The first cabinet took me twenty minutes. The second took ten.
I have hung three cabinet runs with the DW088K, and every one of them went up faster than the first cabinet I ever hung with a bubble level. The laser does not do the work for you, but it removes the most tedious part of the job, which is transferring a level line across a long wall without introducing error. On the last run, in the laundry room, I marked the entire wall in about fifteen minutes, and the cabinets went up in a single afternoon.
Step 5: Use the Same Setup for Shelving, Trim, and Tile
The DW088K is not a one-job tool. After the kitchen cabinets were up, I used the same laser to install floating shelves in the living room. I set the laser to the height I wanted, marked the bracket locations, and the shelves went up perfectly level on the first try. That never happened with a bubble level. The three shelves are still up two years later, and not one of them has sagged or shifted.
I have also used it for baseboard and crown molding. For baseboard, the horizontal line gives me a reference for the top of the board. For crown molding, the vertical line helps me keep the corners consistent. The laser is not a substitute for a good miter saw, but it is a substitute for the guesswork that makes trim look amateur. When I ran the baseboard in the hallway, I marked the top of the board at every stud, and the seams came out tight.
If you do tile work, the vertical beam is excellent for keeping grout lines straight. I used it when I tiled the bathroom floor in my 1962 ranch, and it was the first tile job I have done where the lines did not slowly drift to one side. The laser does not care if you are working on a small bathroom or a long hallway. It projects the same accurate line either way. I set the vertical beam along the longest wall, and every row of tile followed it.
What Else Helps
The DW088K is the centerpiece of my layout work, but it works best with a few supporting tools. A good stud finder is essential for cabinet work, because the laser tells you where level is, not where the studs are. A four-foot level is still worth keeping in the toolbox for checking individual cabinets after they are hung. And a laser detector is worth considering if you plan to work in very bright conditions or outdoors, because the red beam can be hard to see in direct sunlight. I keep a cheap detector in the garage for the rare days I work near the open door.
I also recommend keeping the included wall bracket attached to the laser when you are not using it. It is small enough to leave on, and it means the laser is ready to go the next time you need it. The DW088K runs on three AA batteries, and I have found that a set lasts through several weekends of projects, so I do not worry about battery life the way I do with some cordless tools. I replaced the batteries once in the first year, and that was only because I left the laser on overnight.
The laser does not do the work for you, but it removes the most tedious part of the job: transferring a level line across a long wall without introducing error.
The line you mark is the line you live with. Make it level the first time.
The DeWalt DW088K has paid for itself in my house many times over, and it will do the same in yours. Check the current price on Amazon and see why 9,000+ reviewers reach for it.
Amazon Check Today's Price on Amazon →